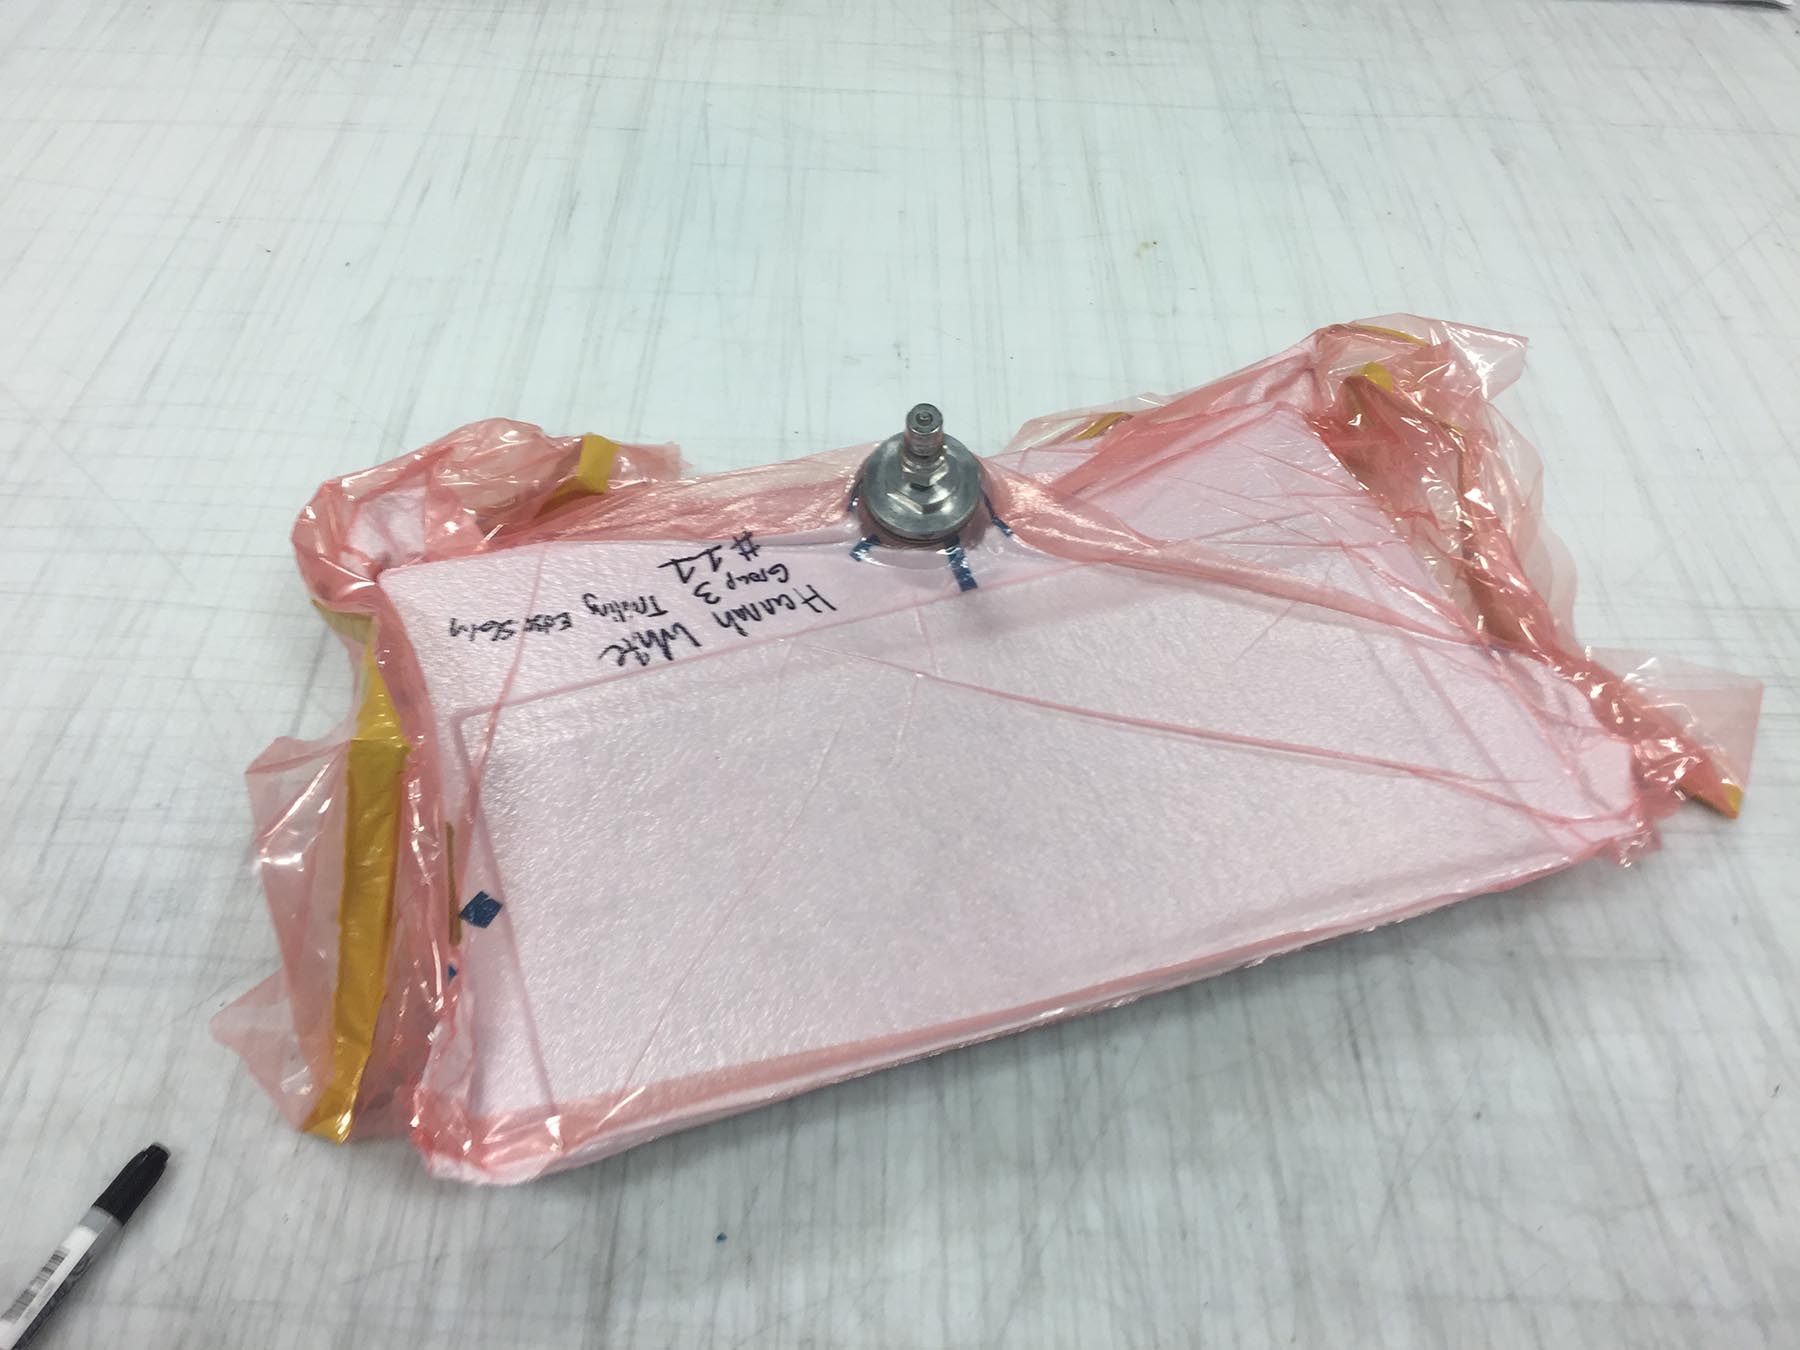
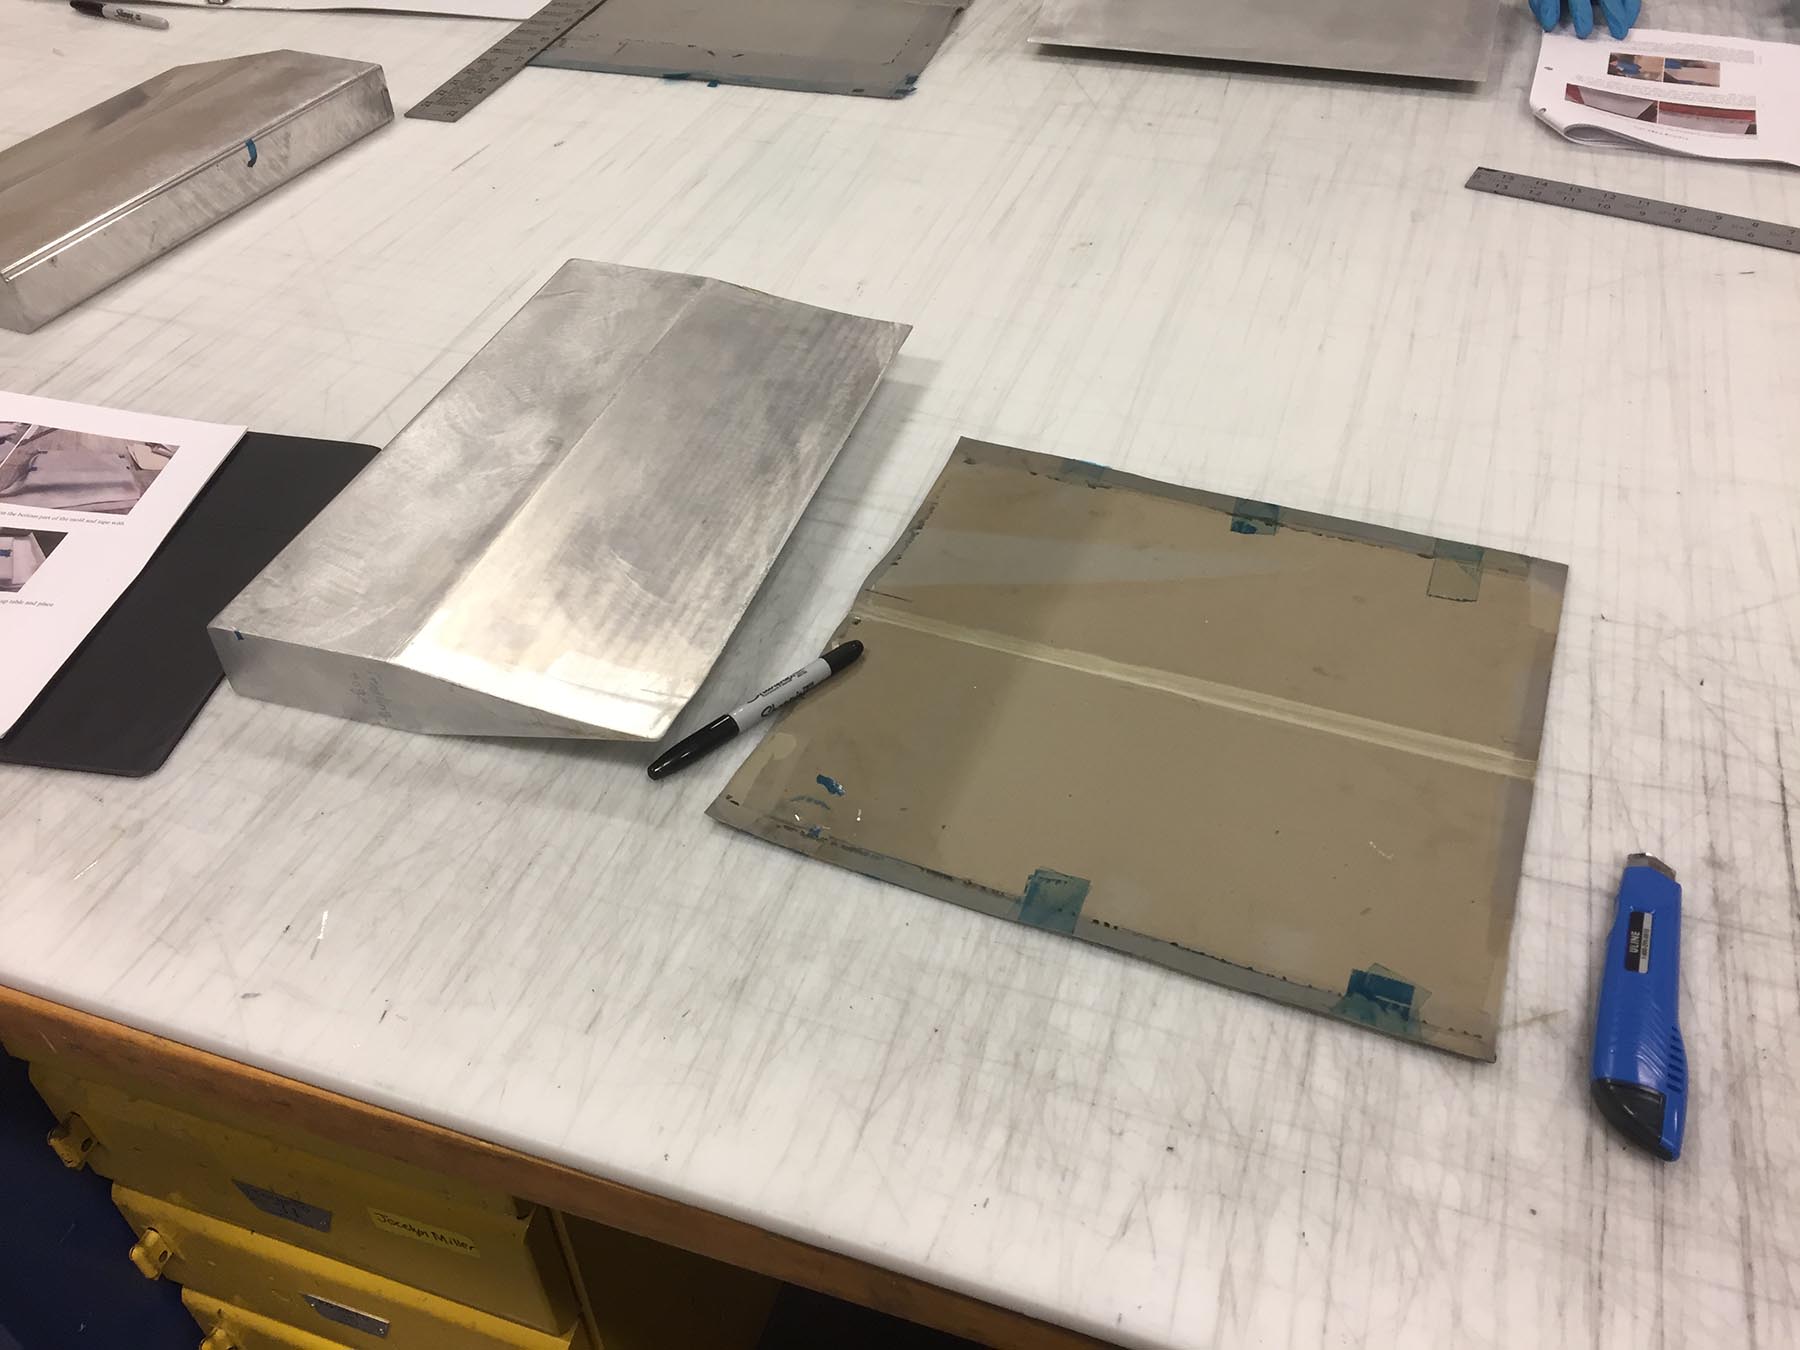
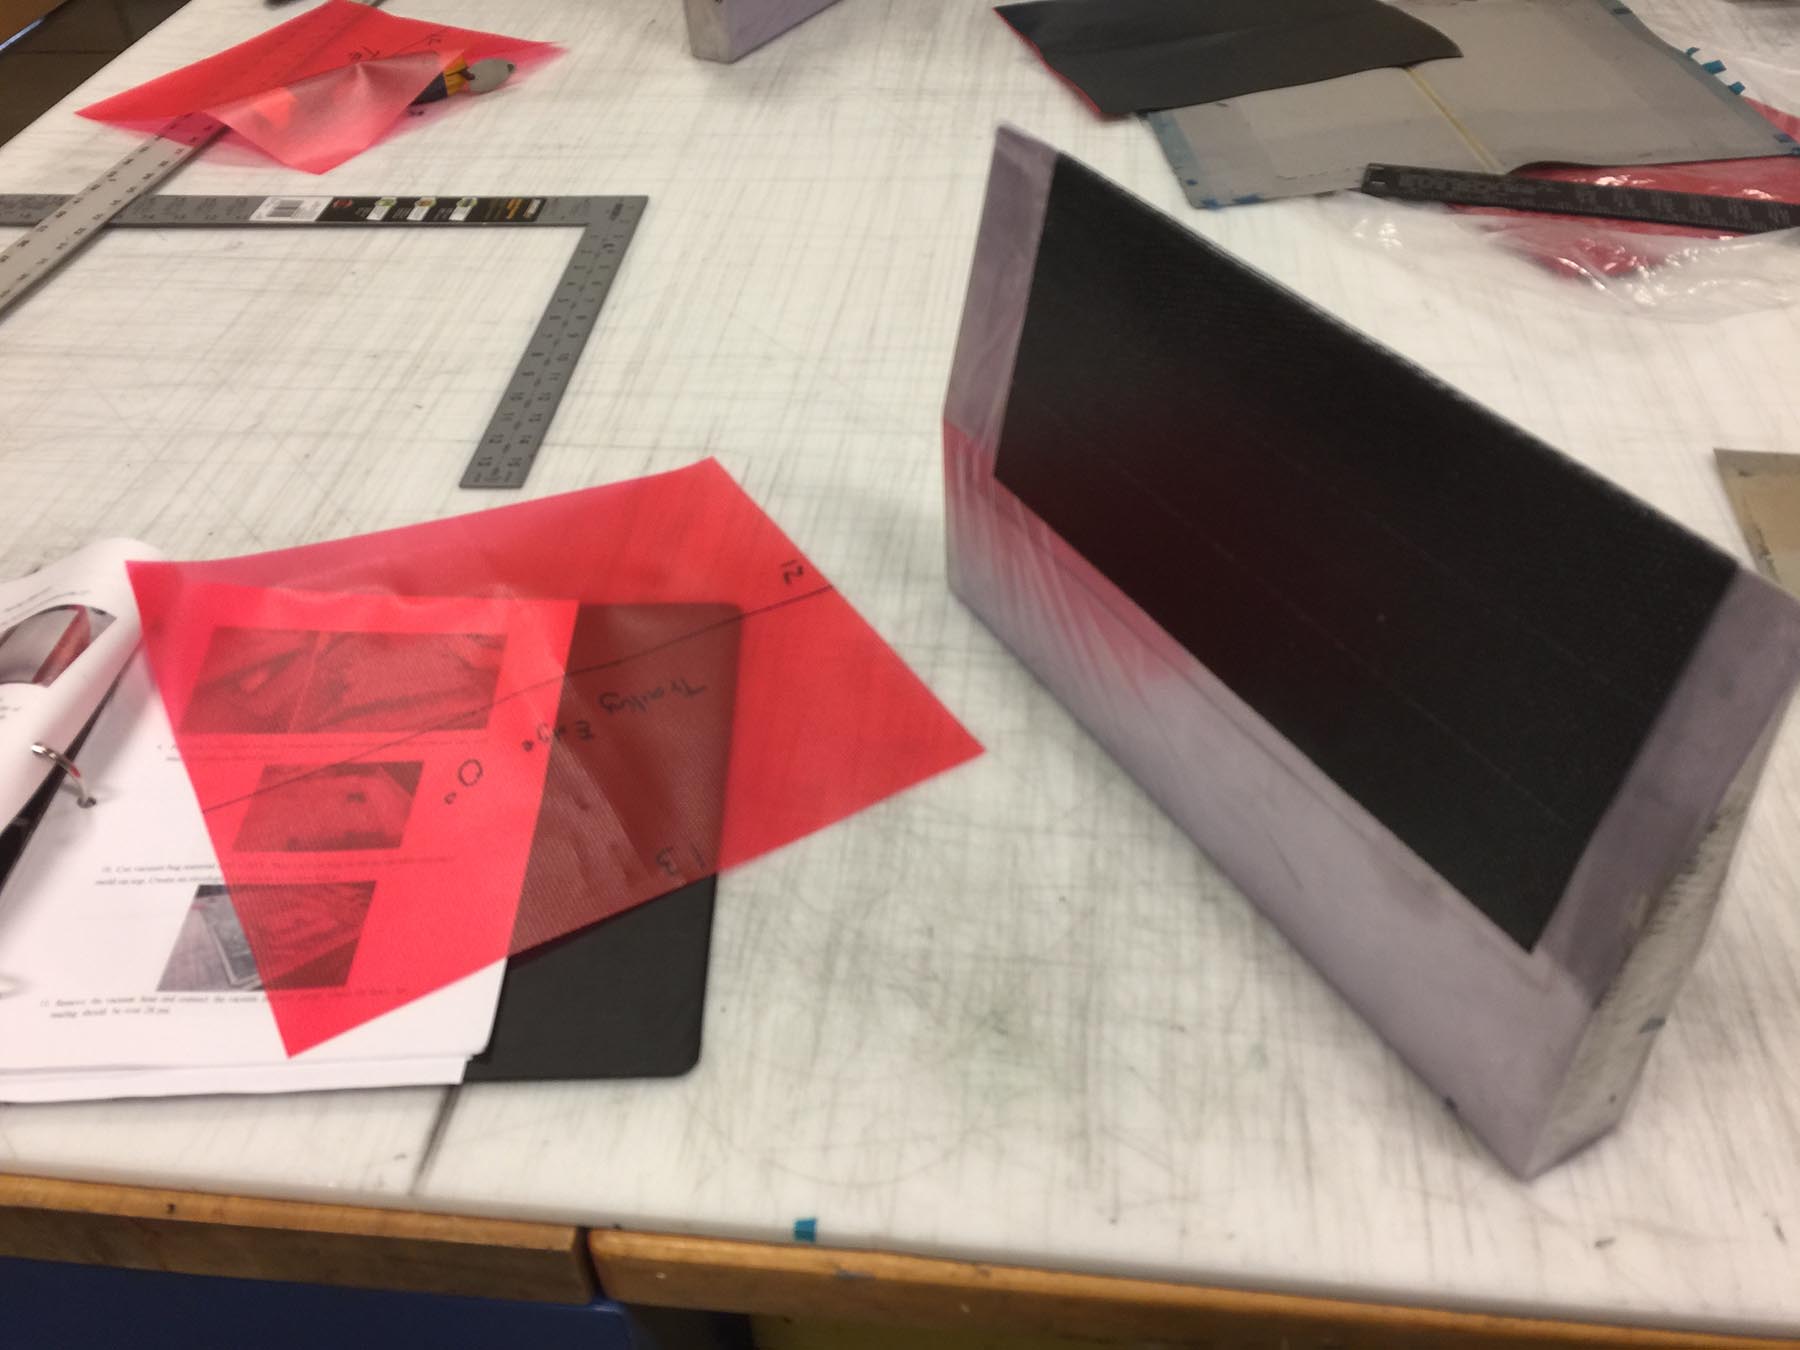
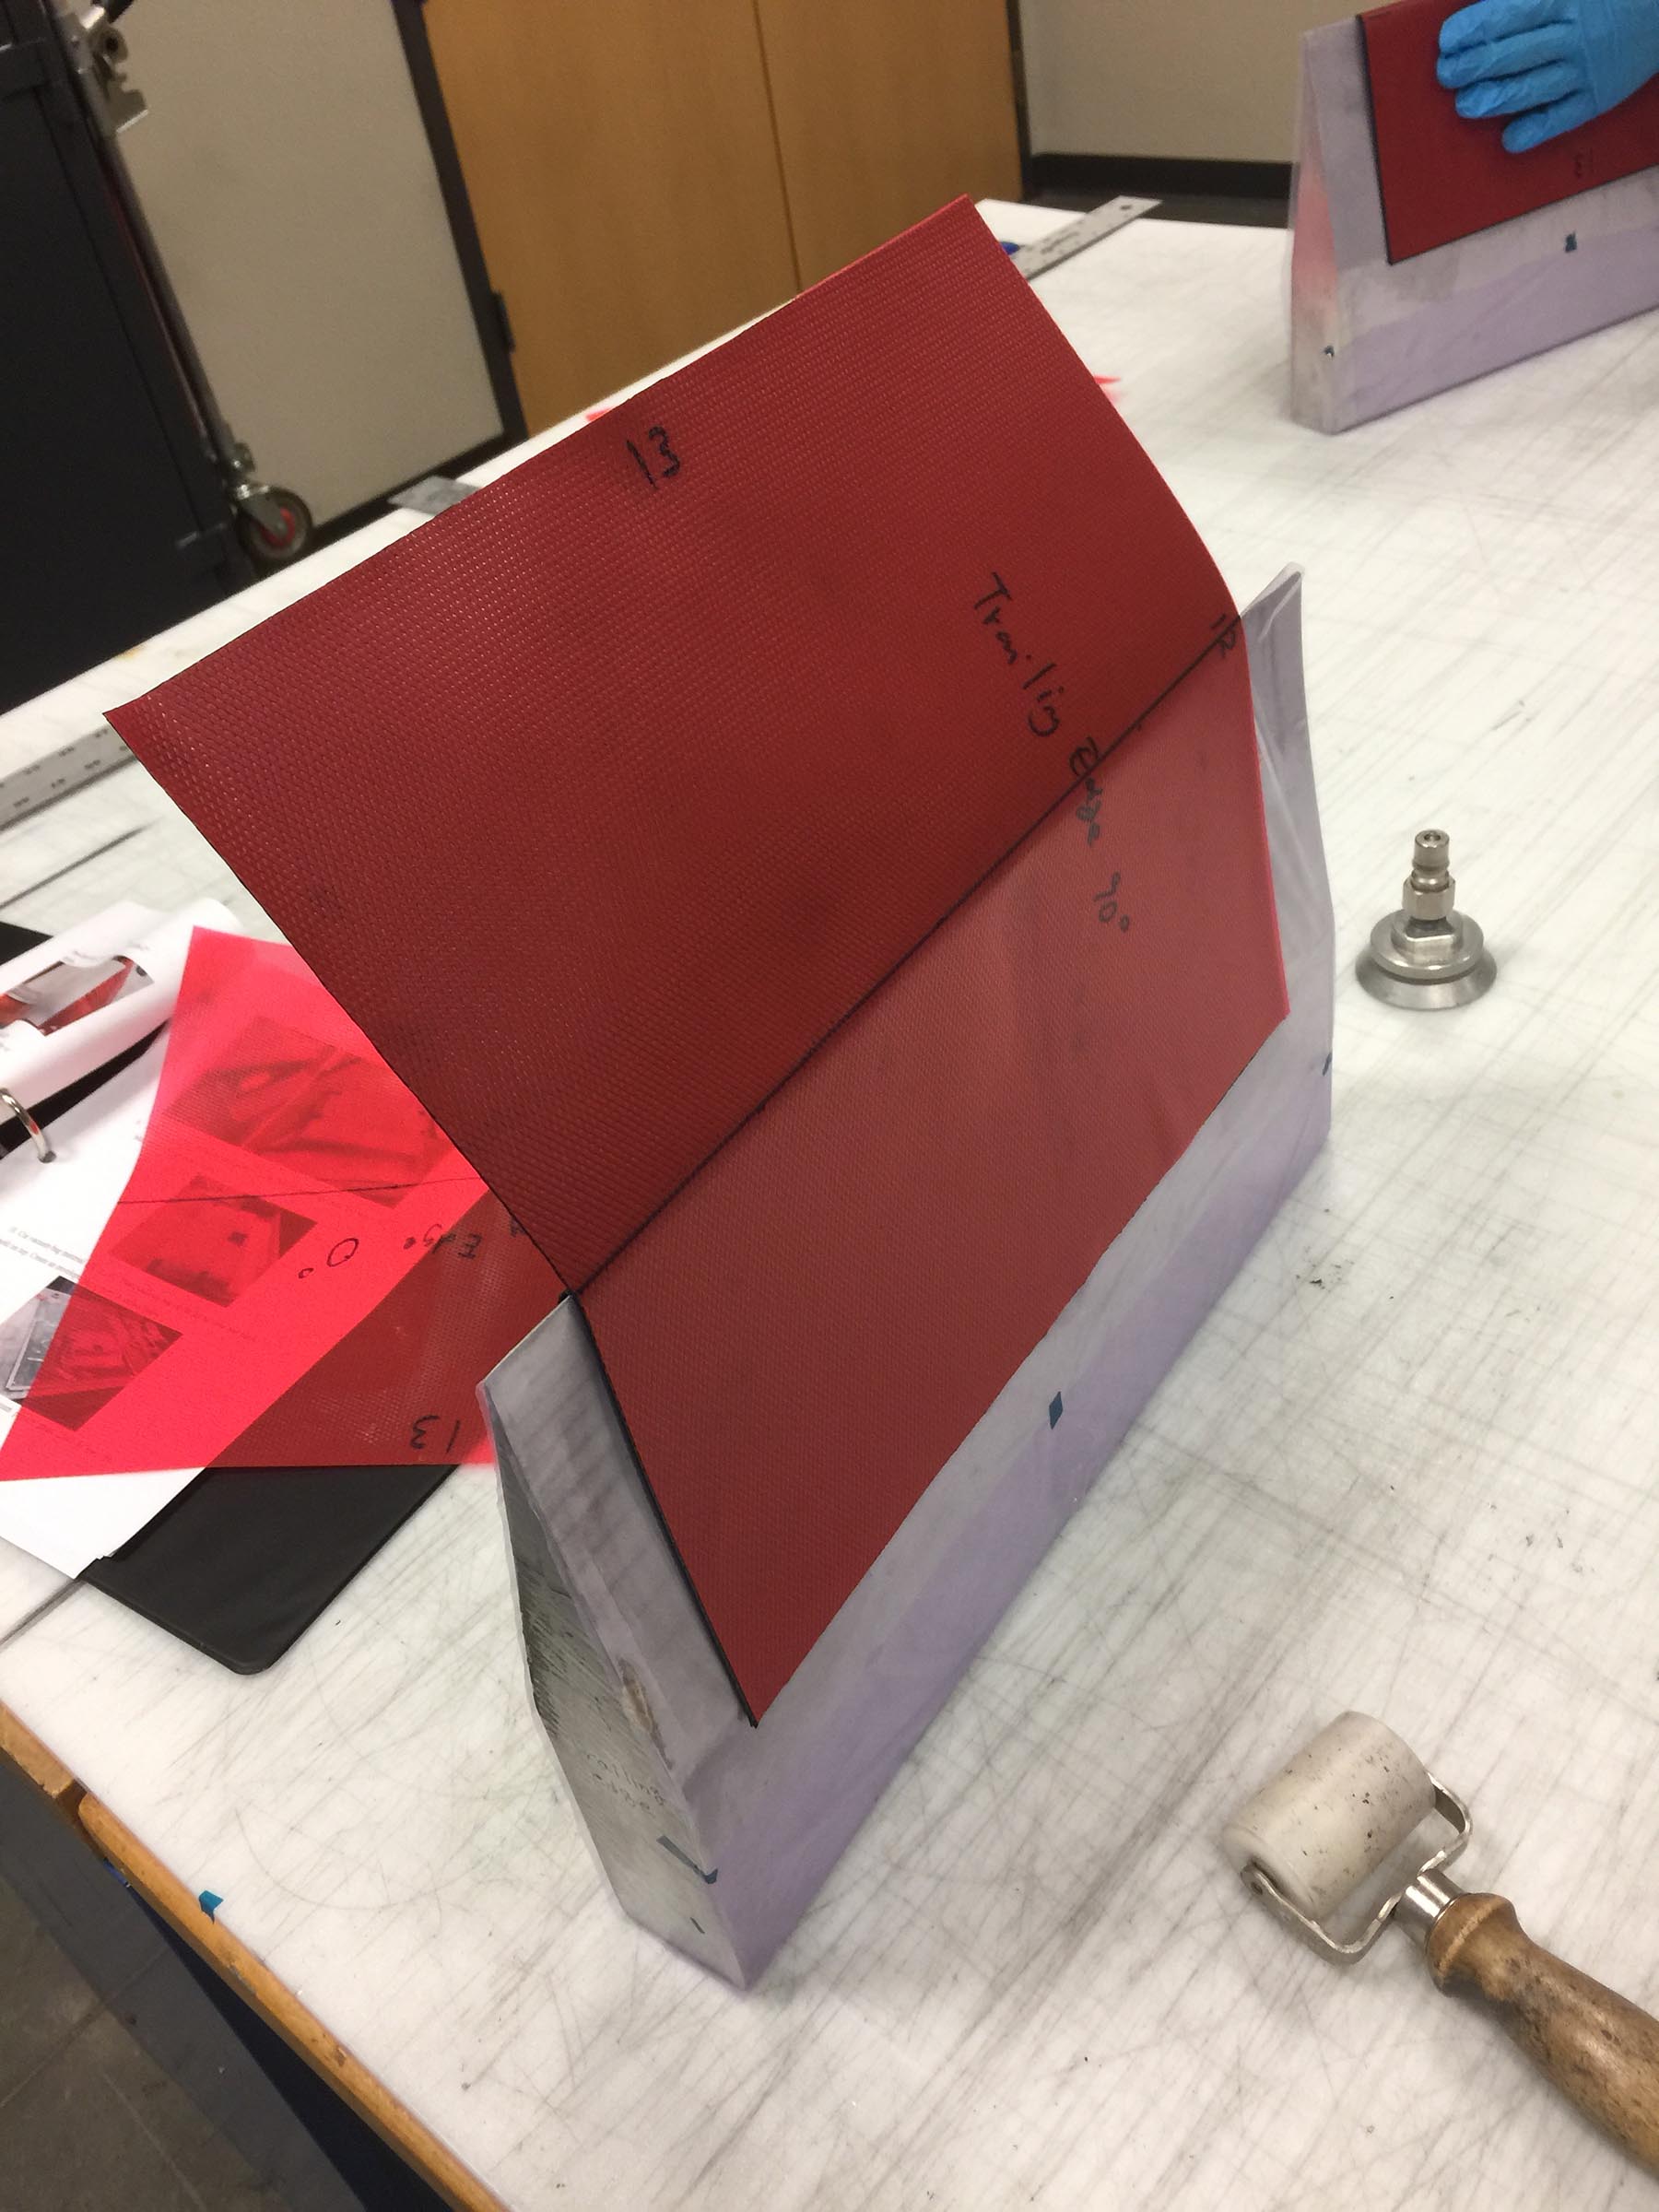
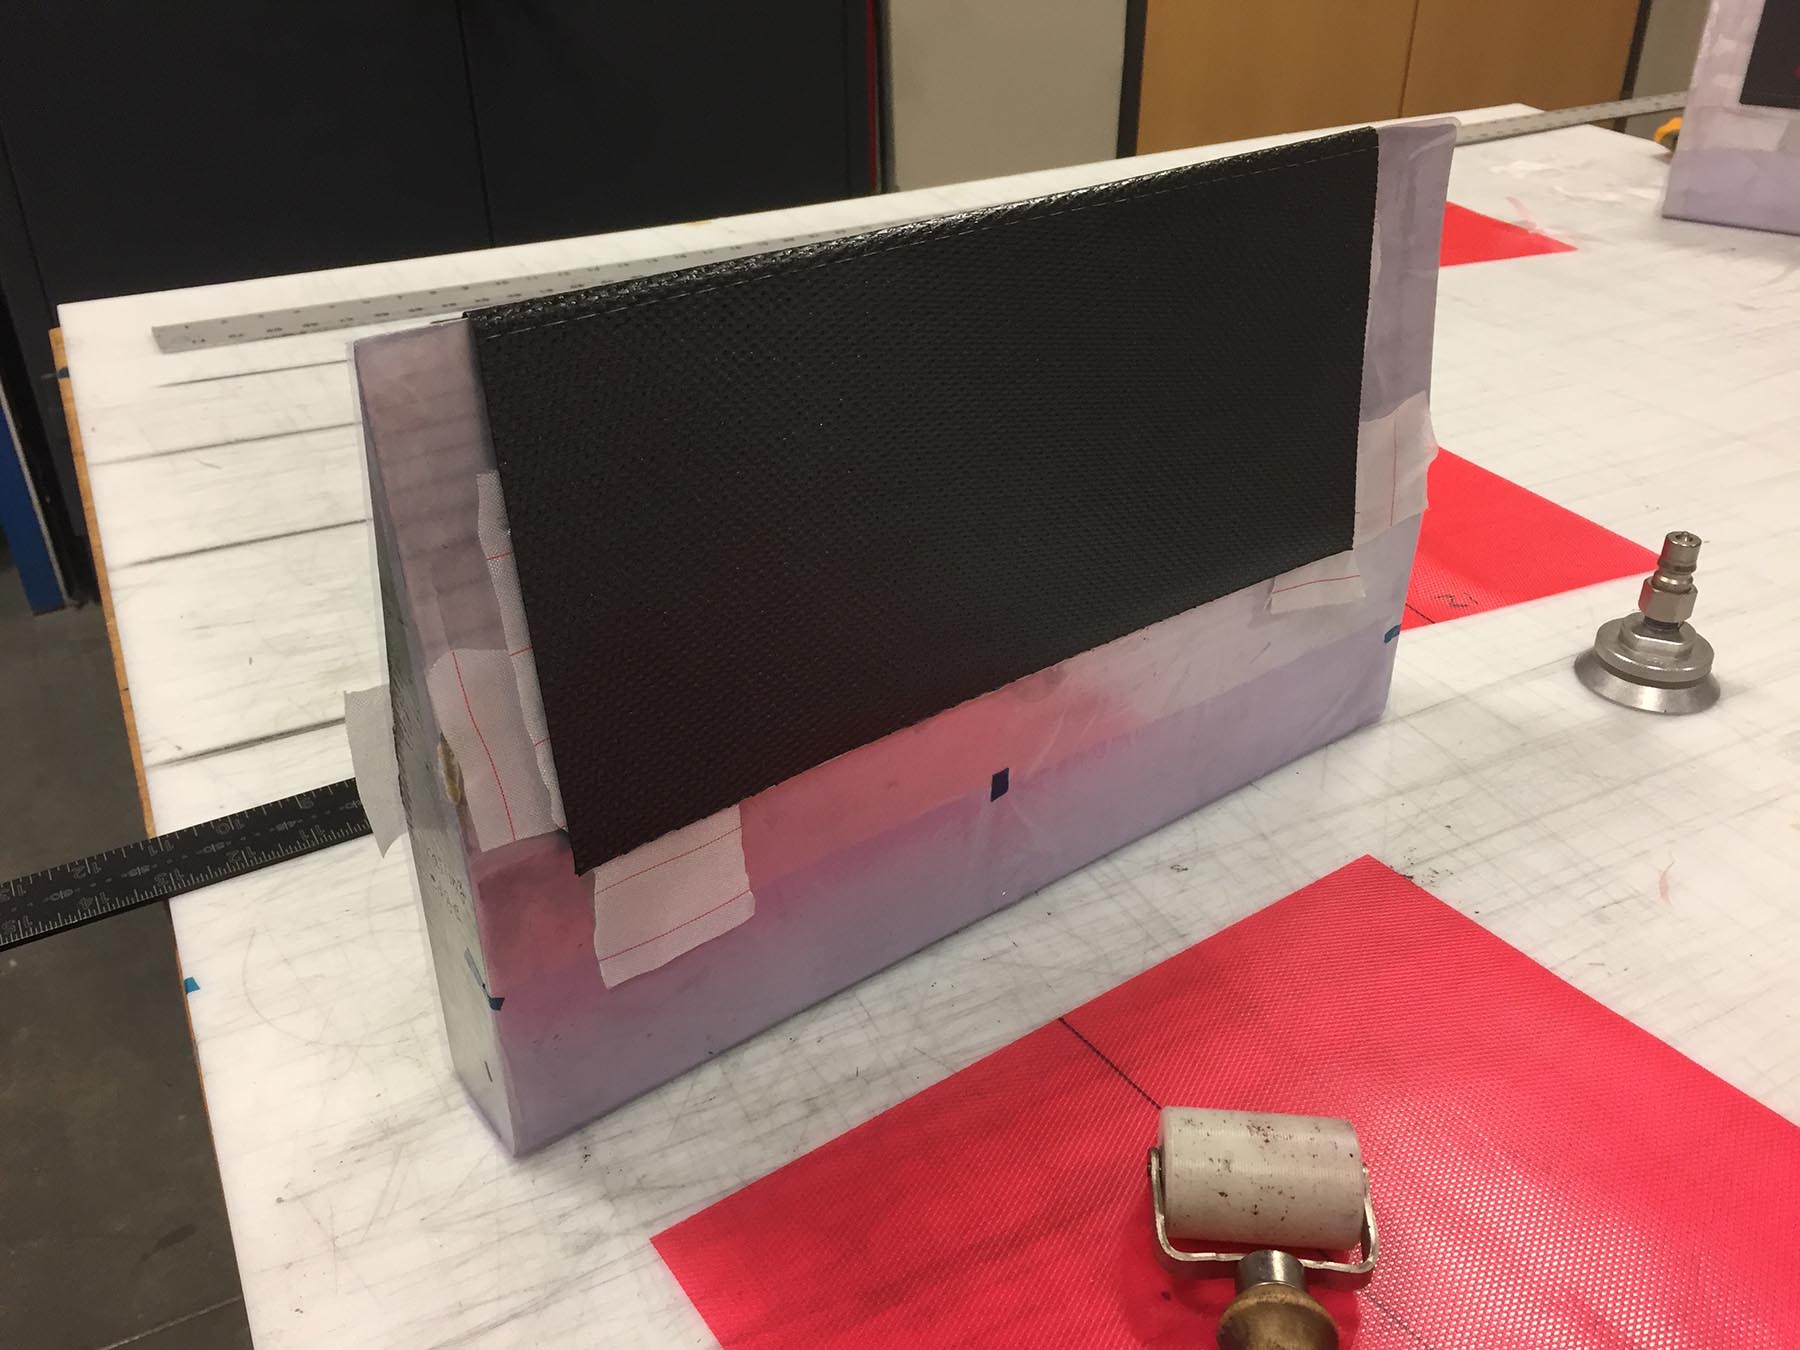
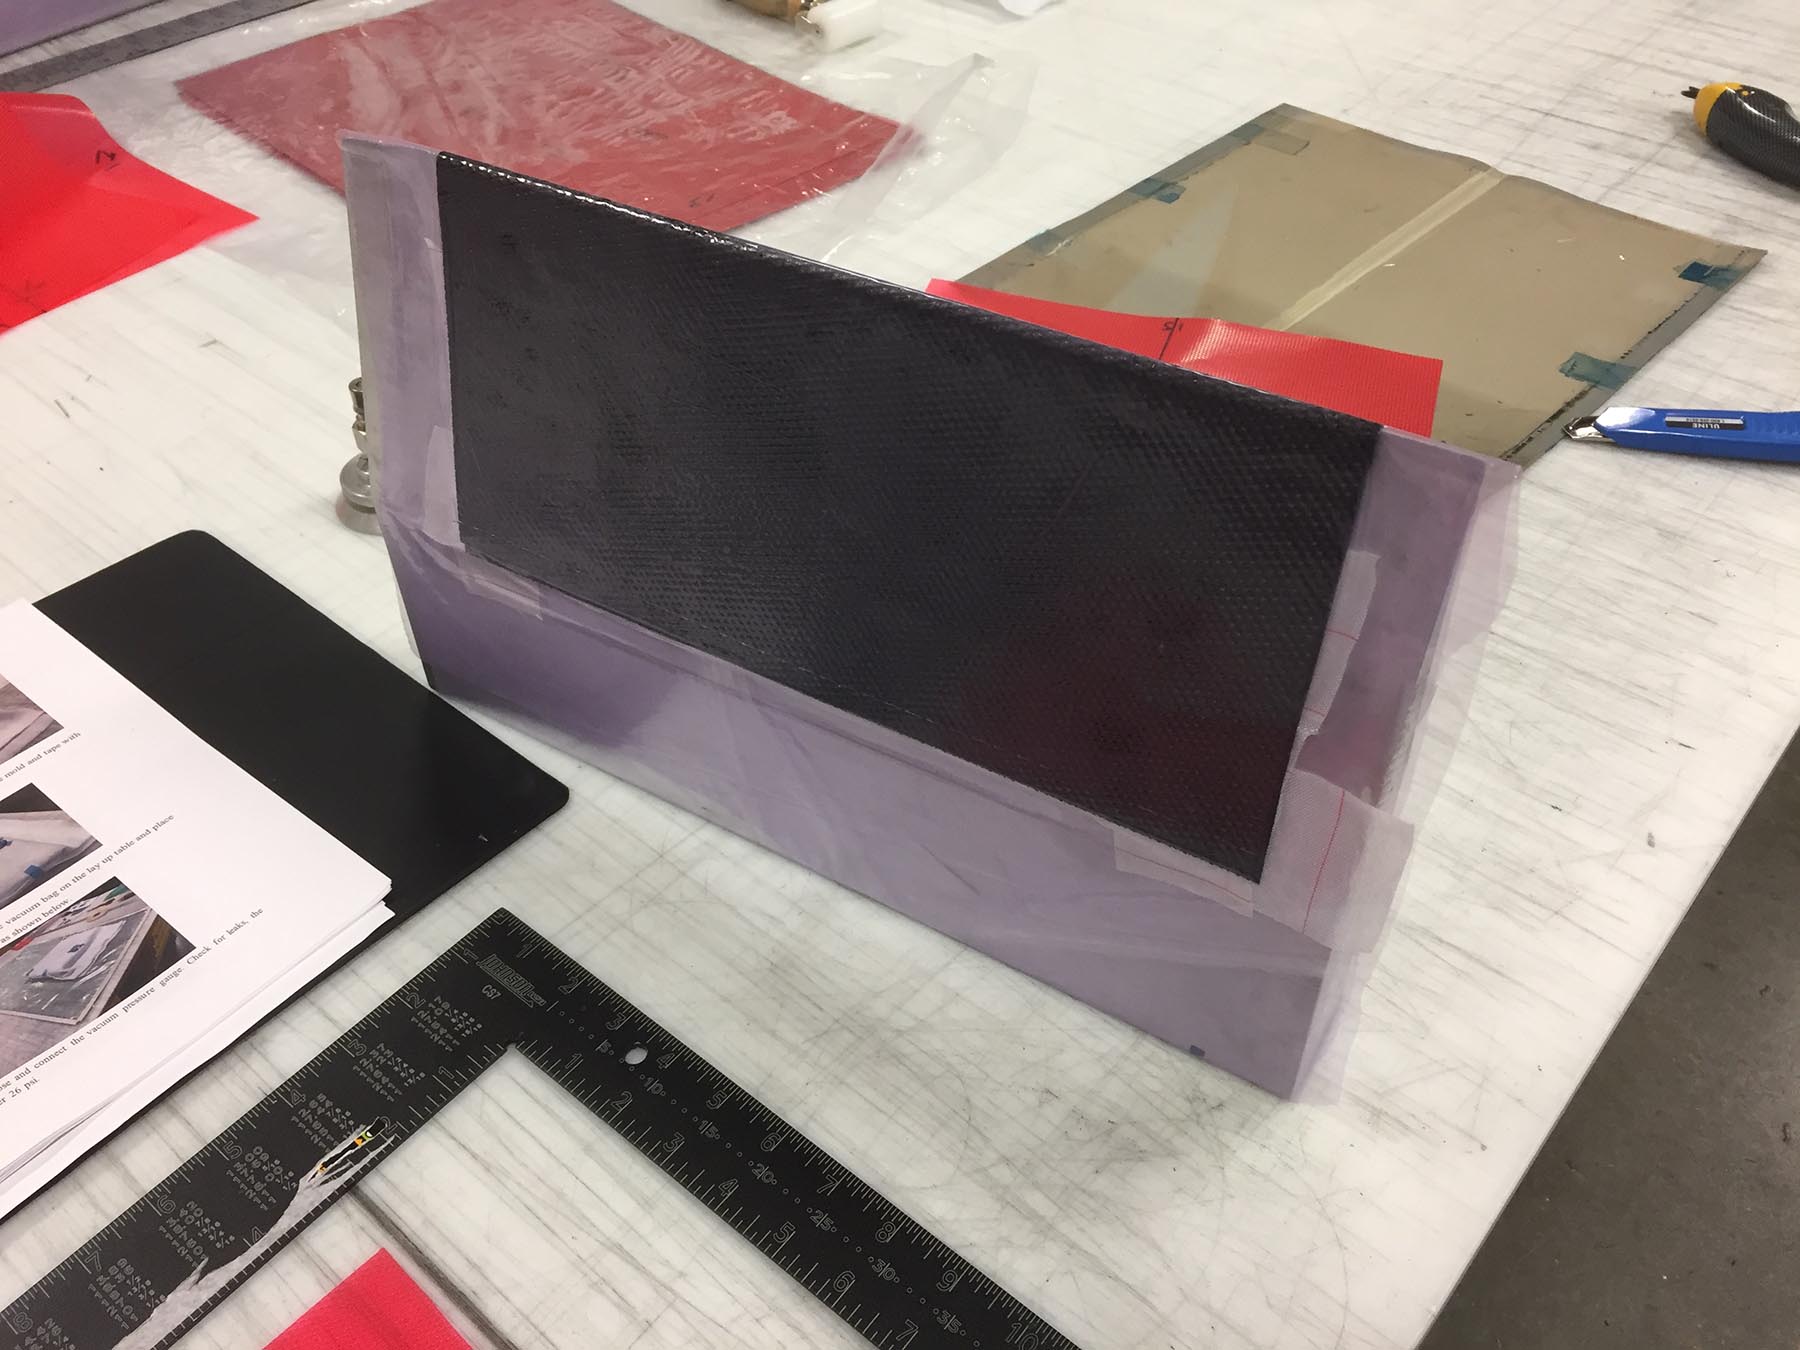
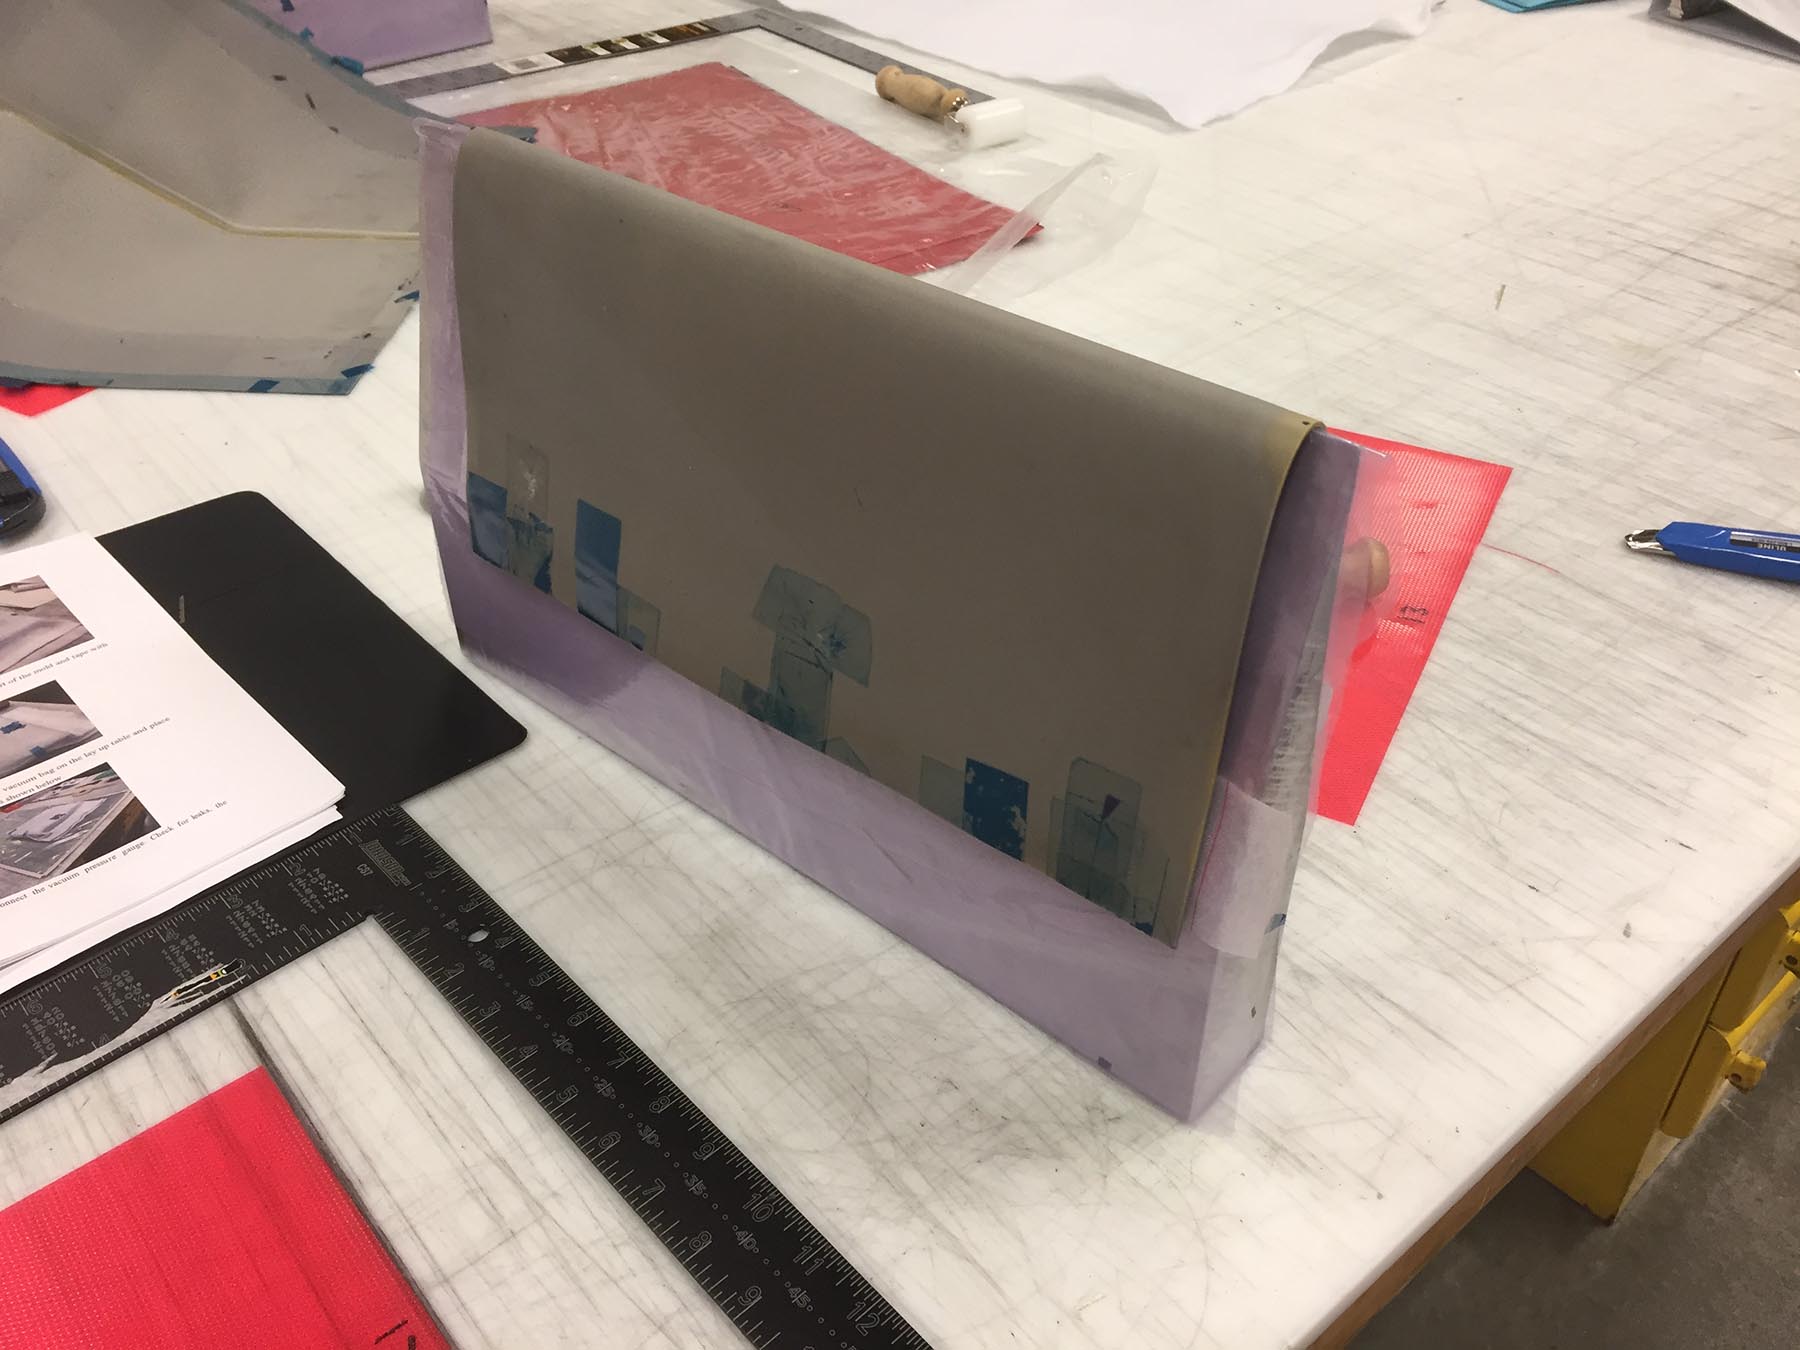
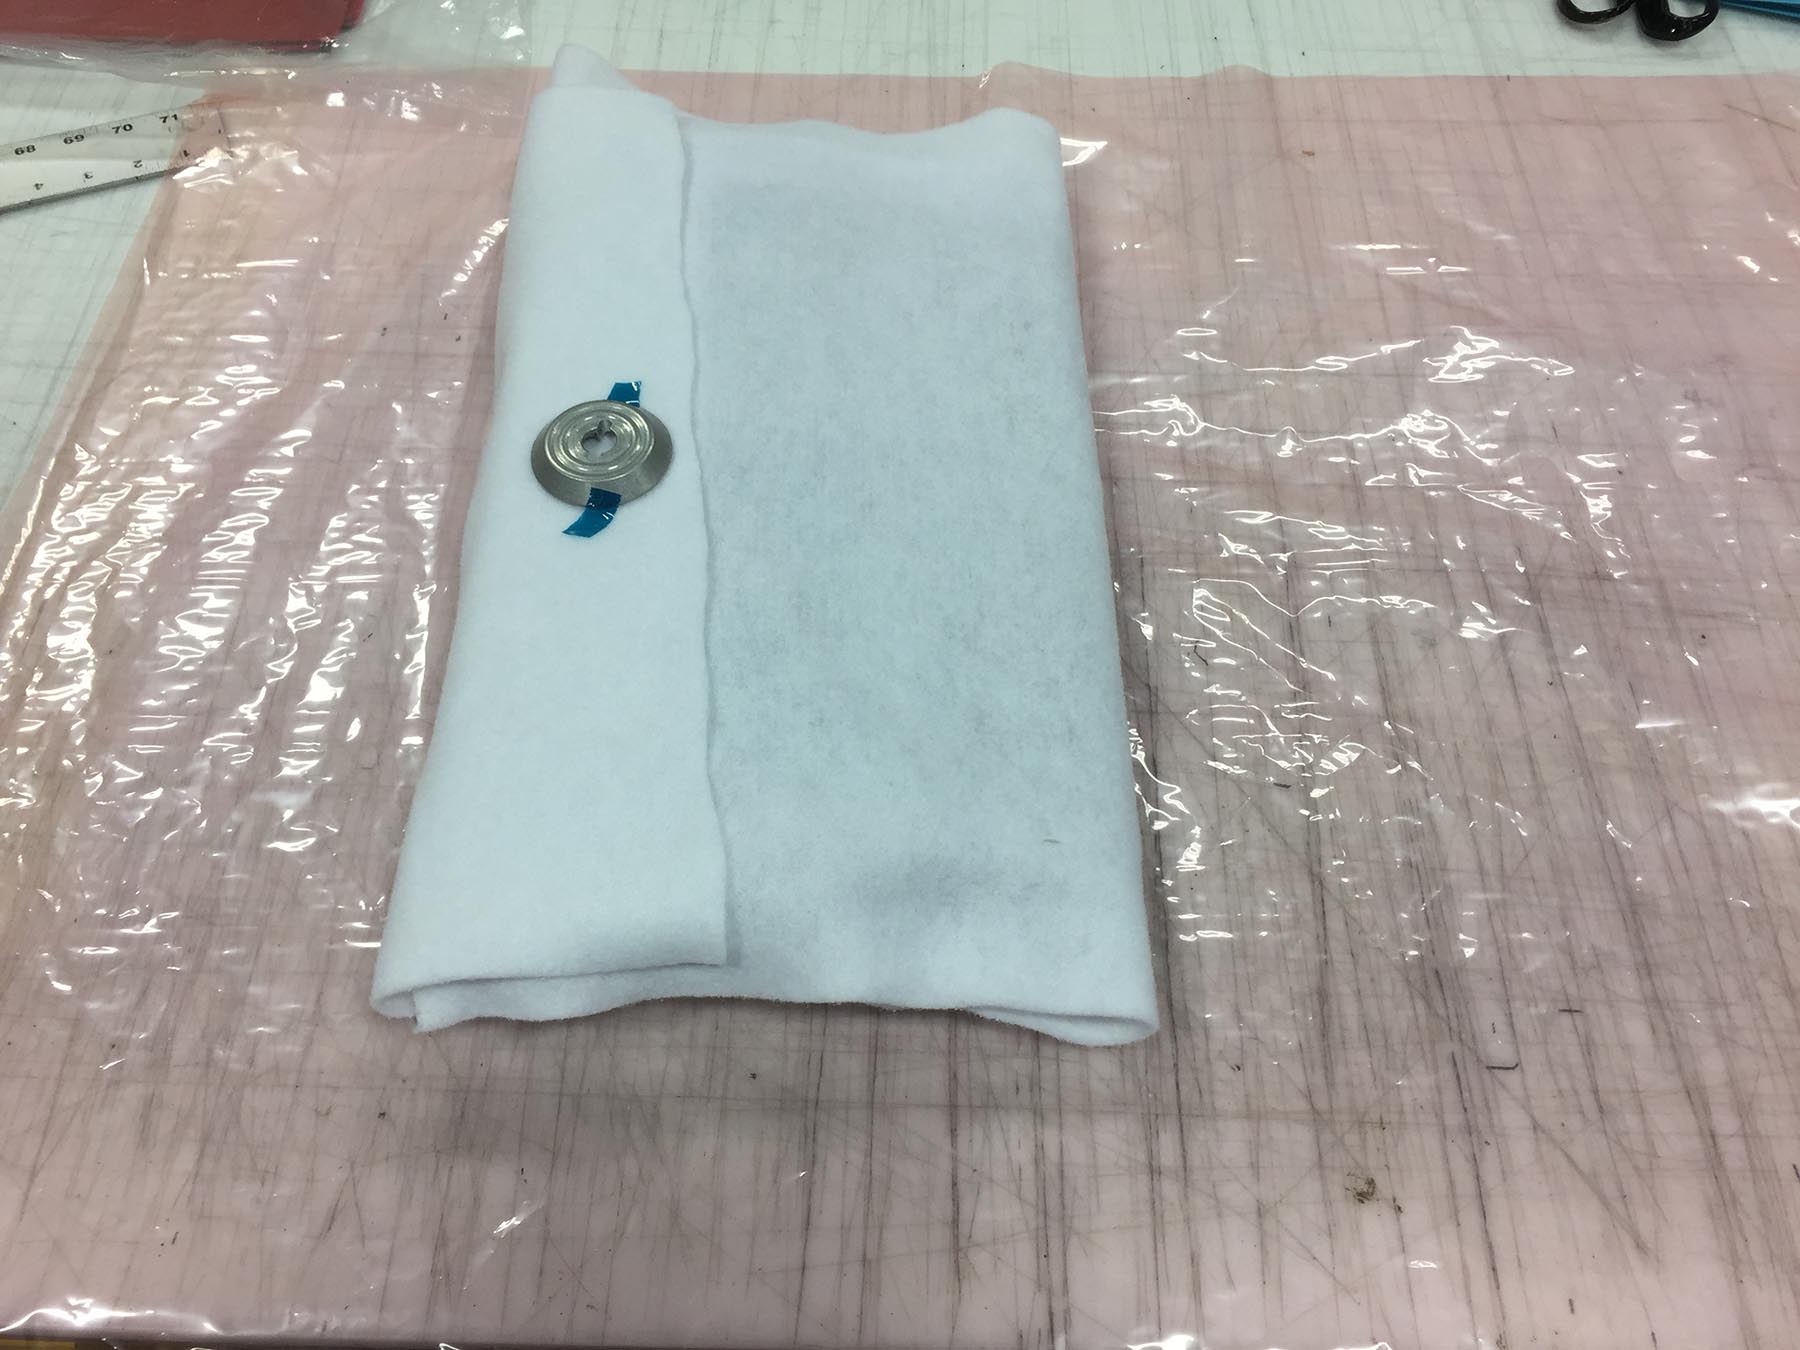
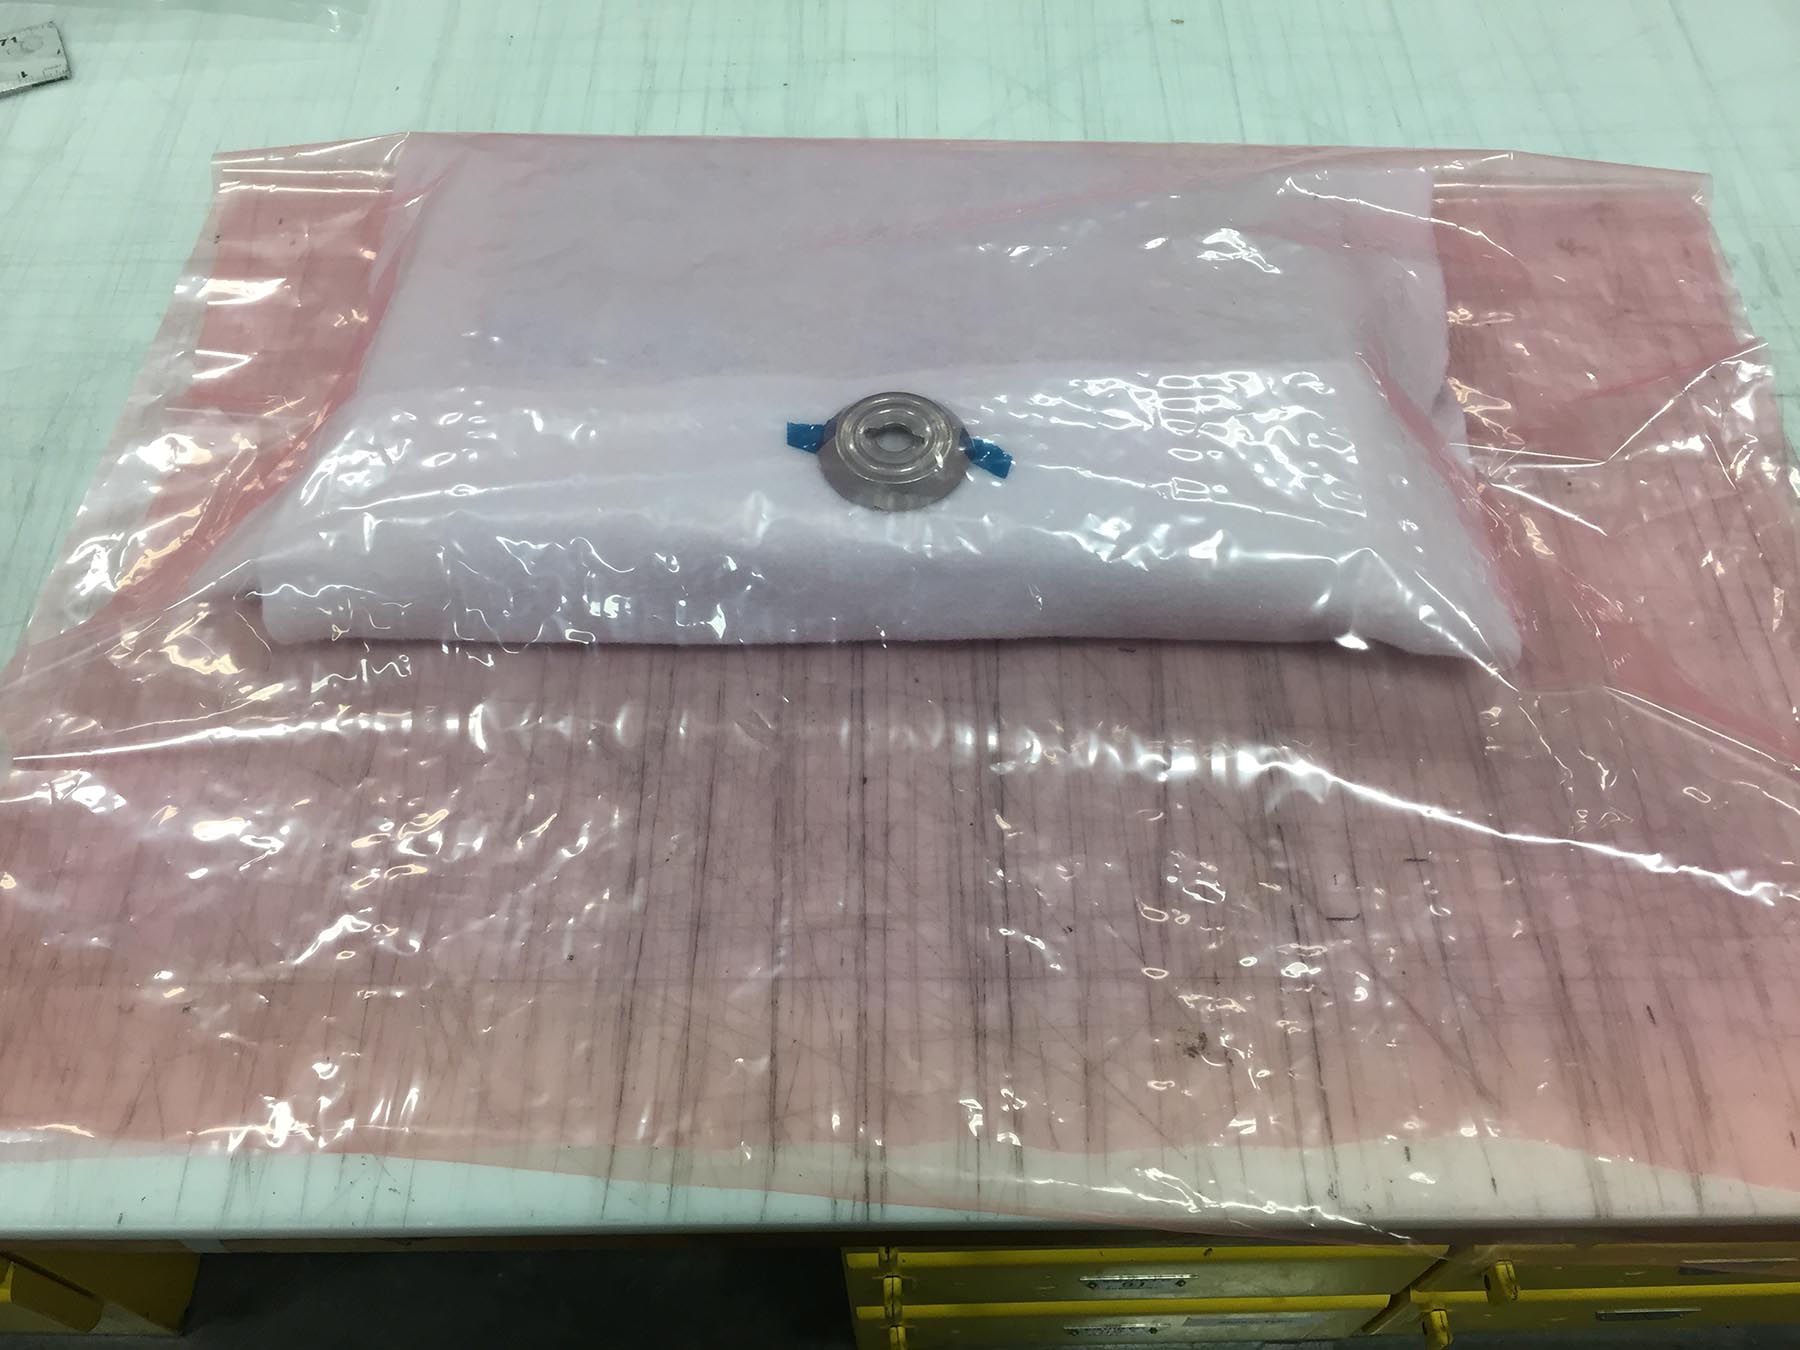
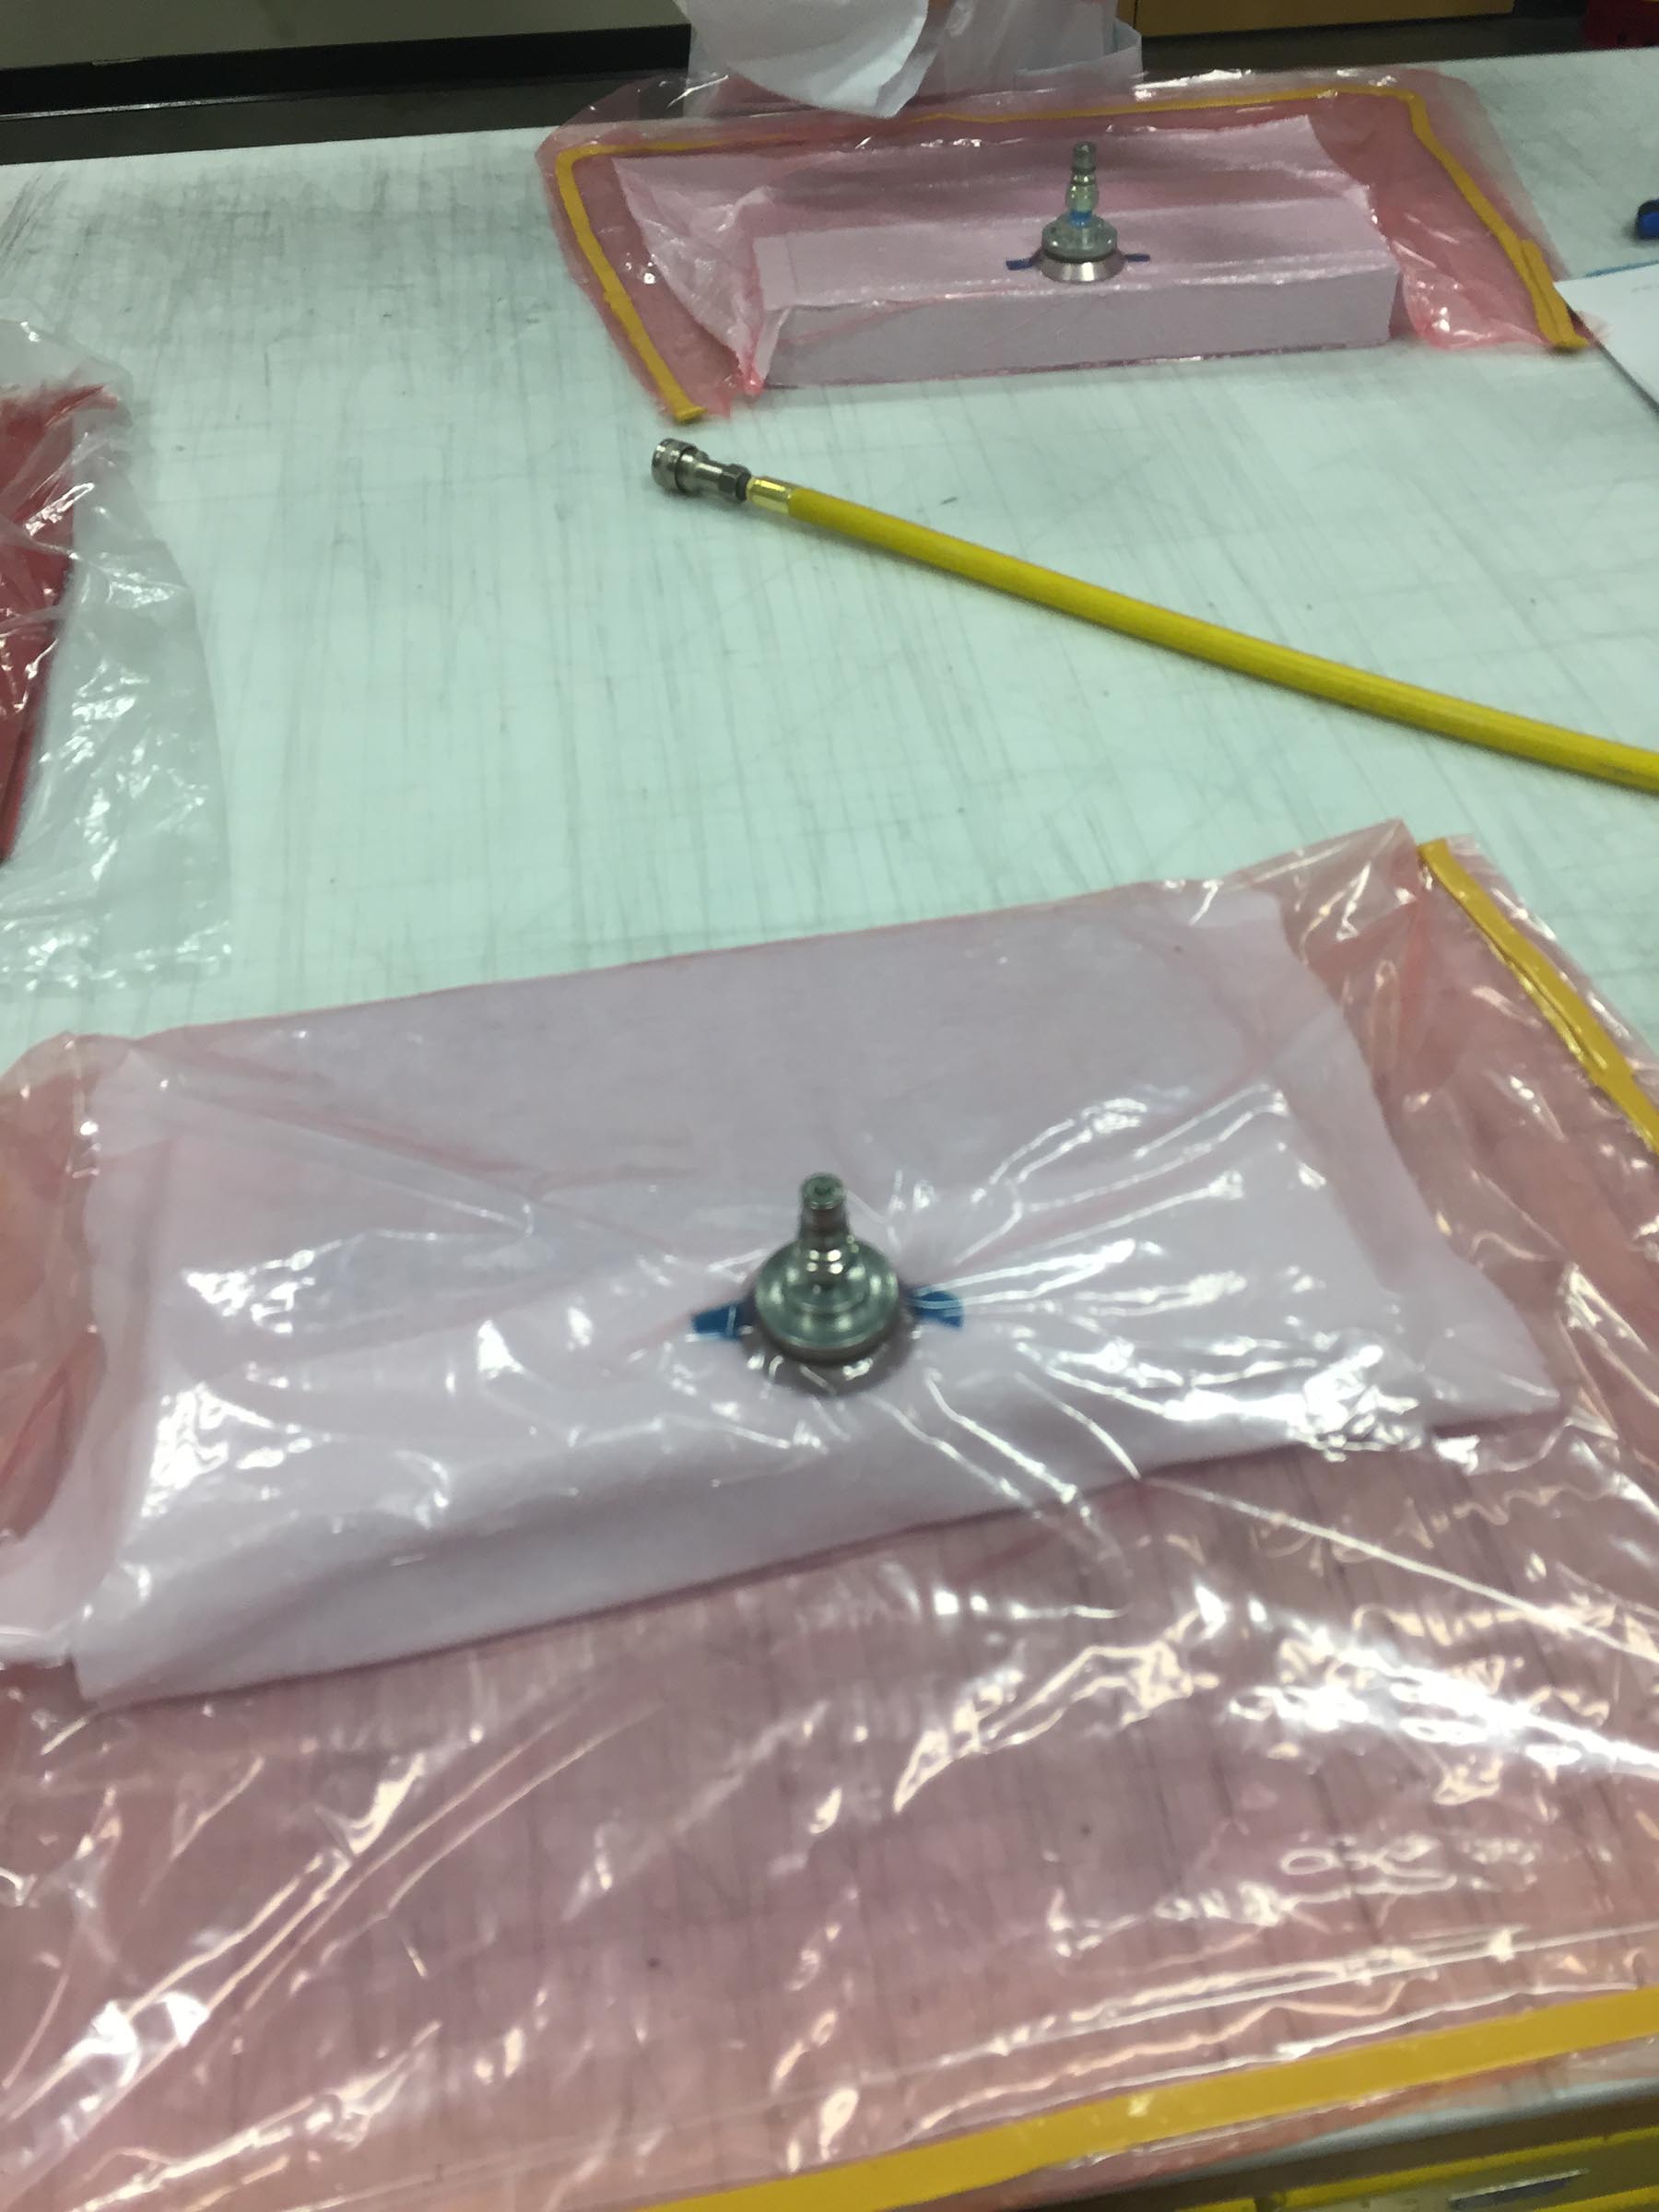
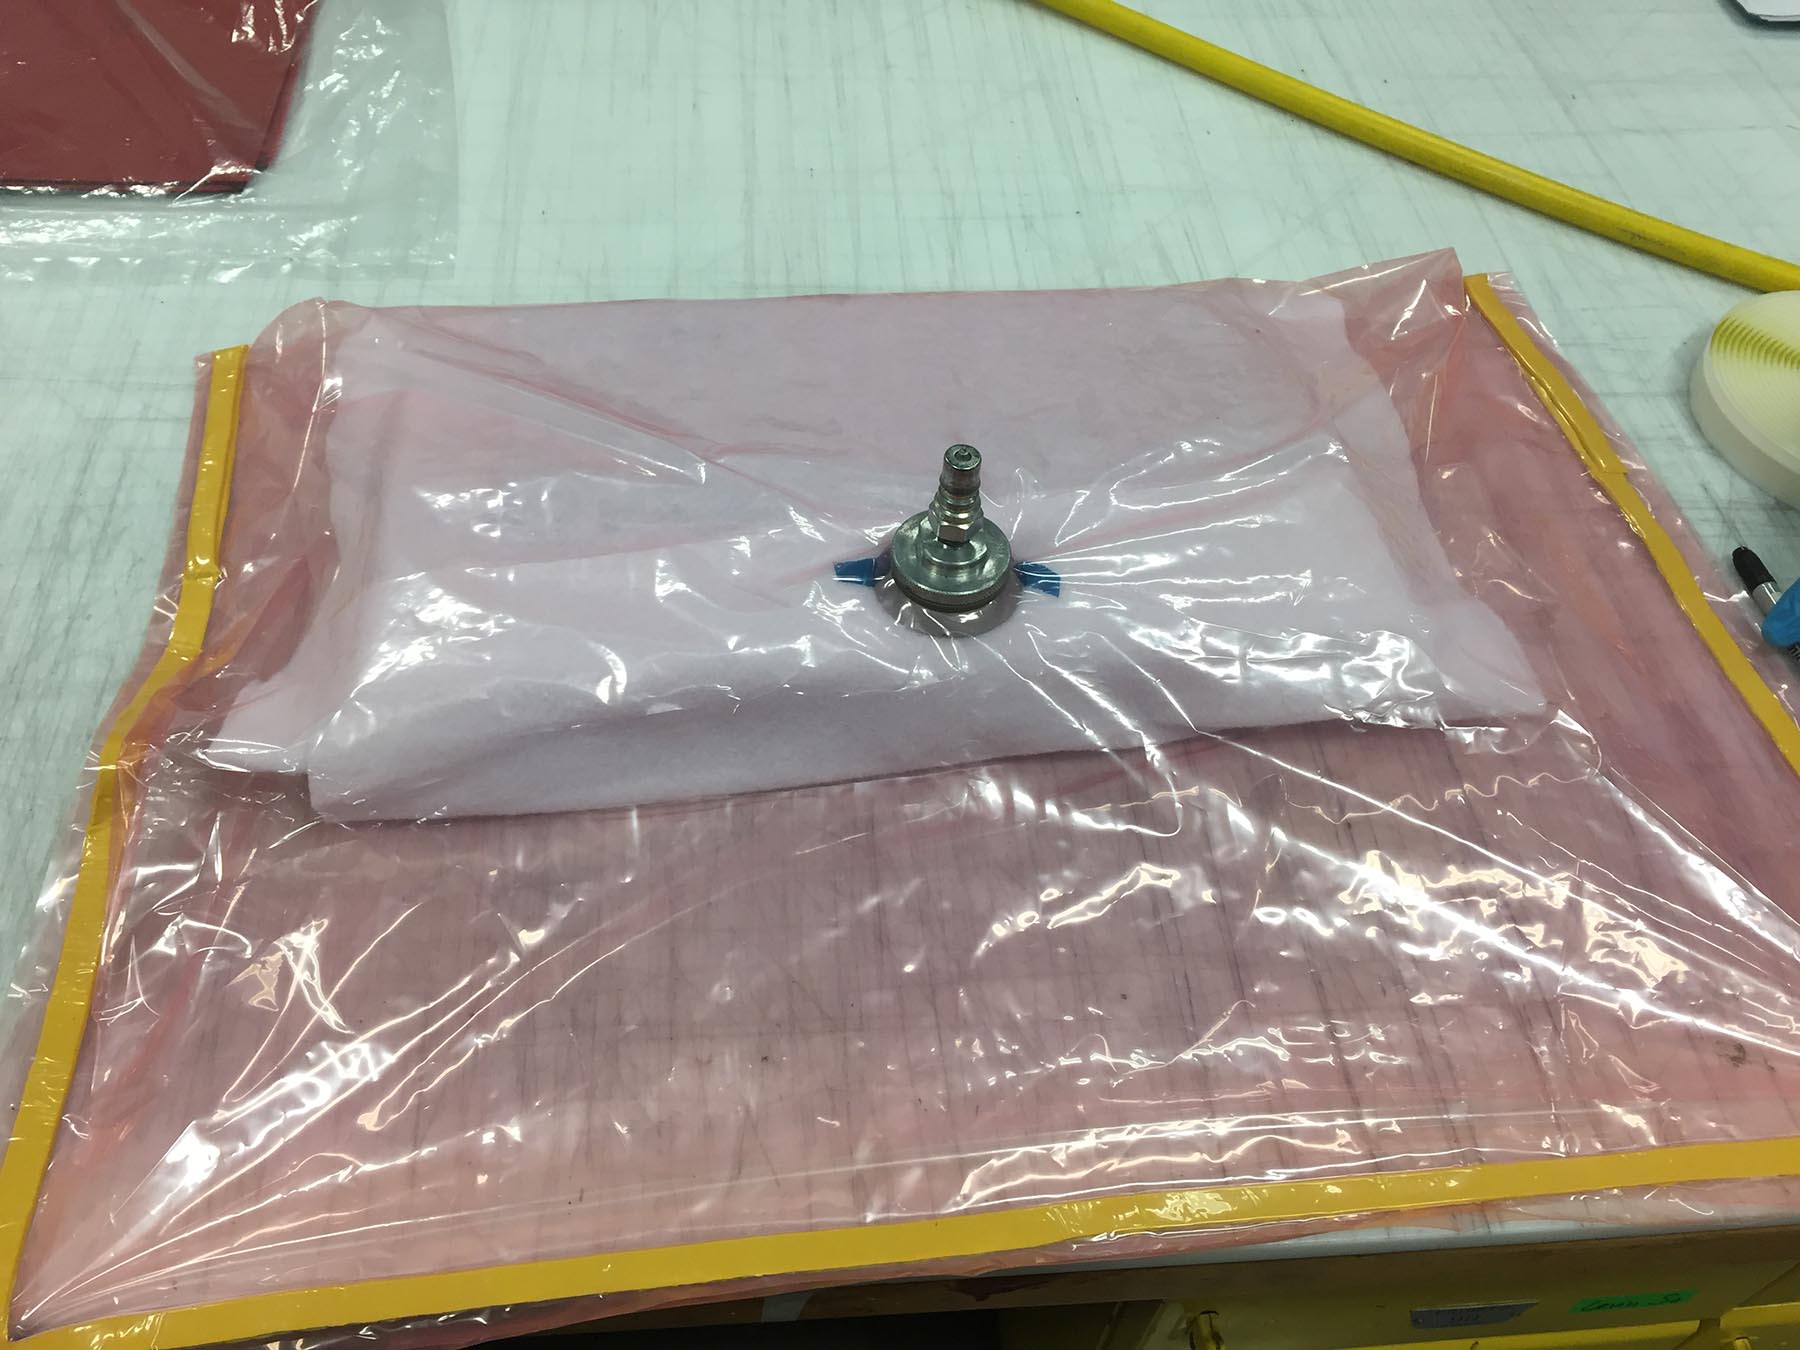
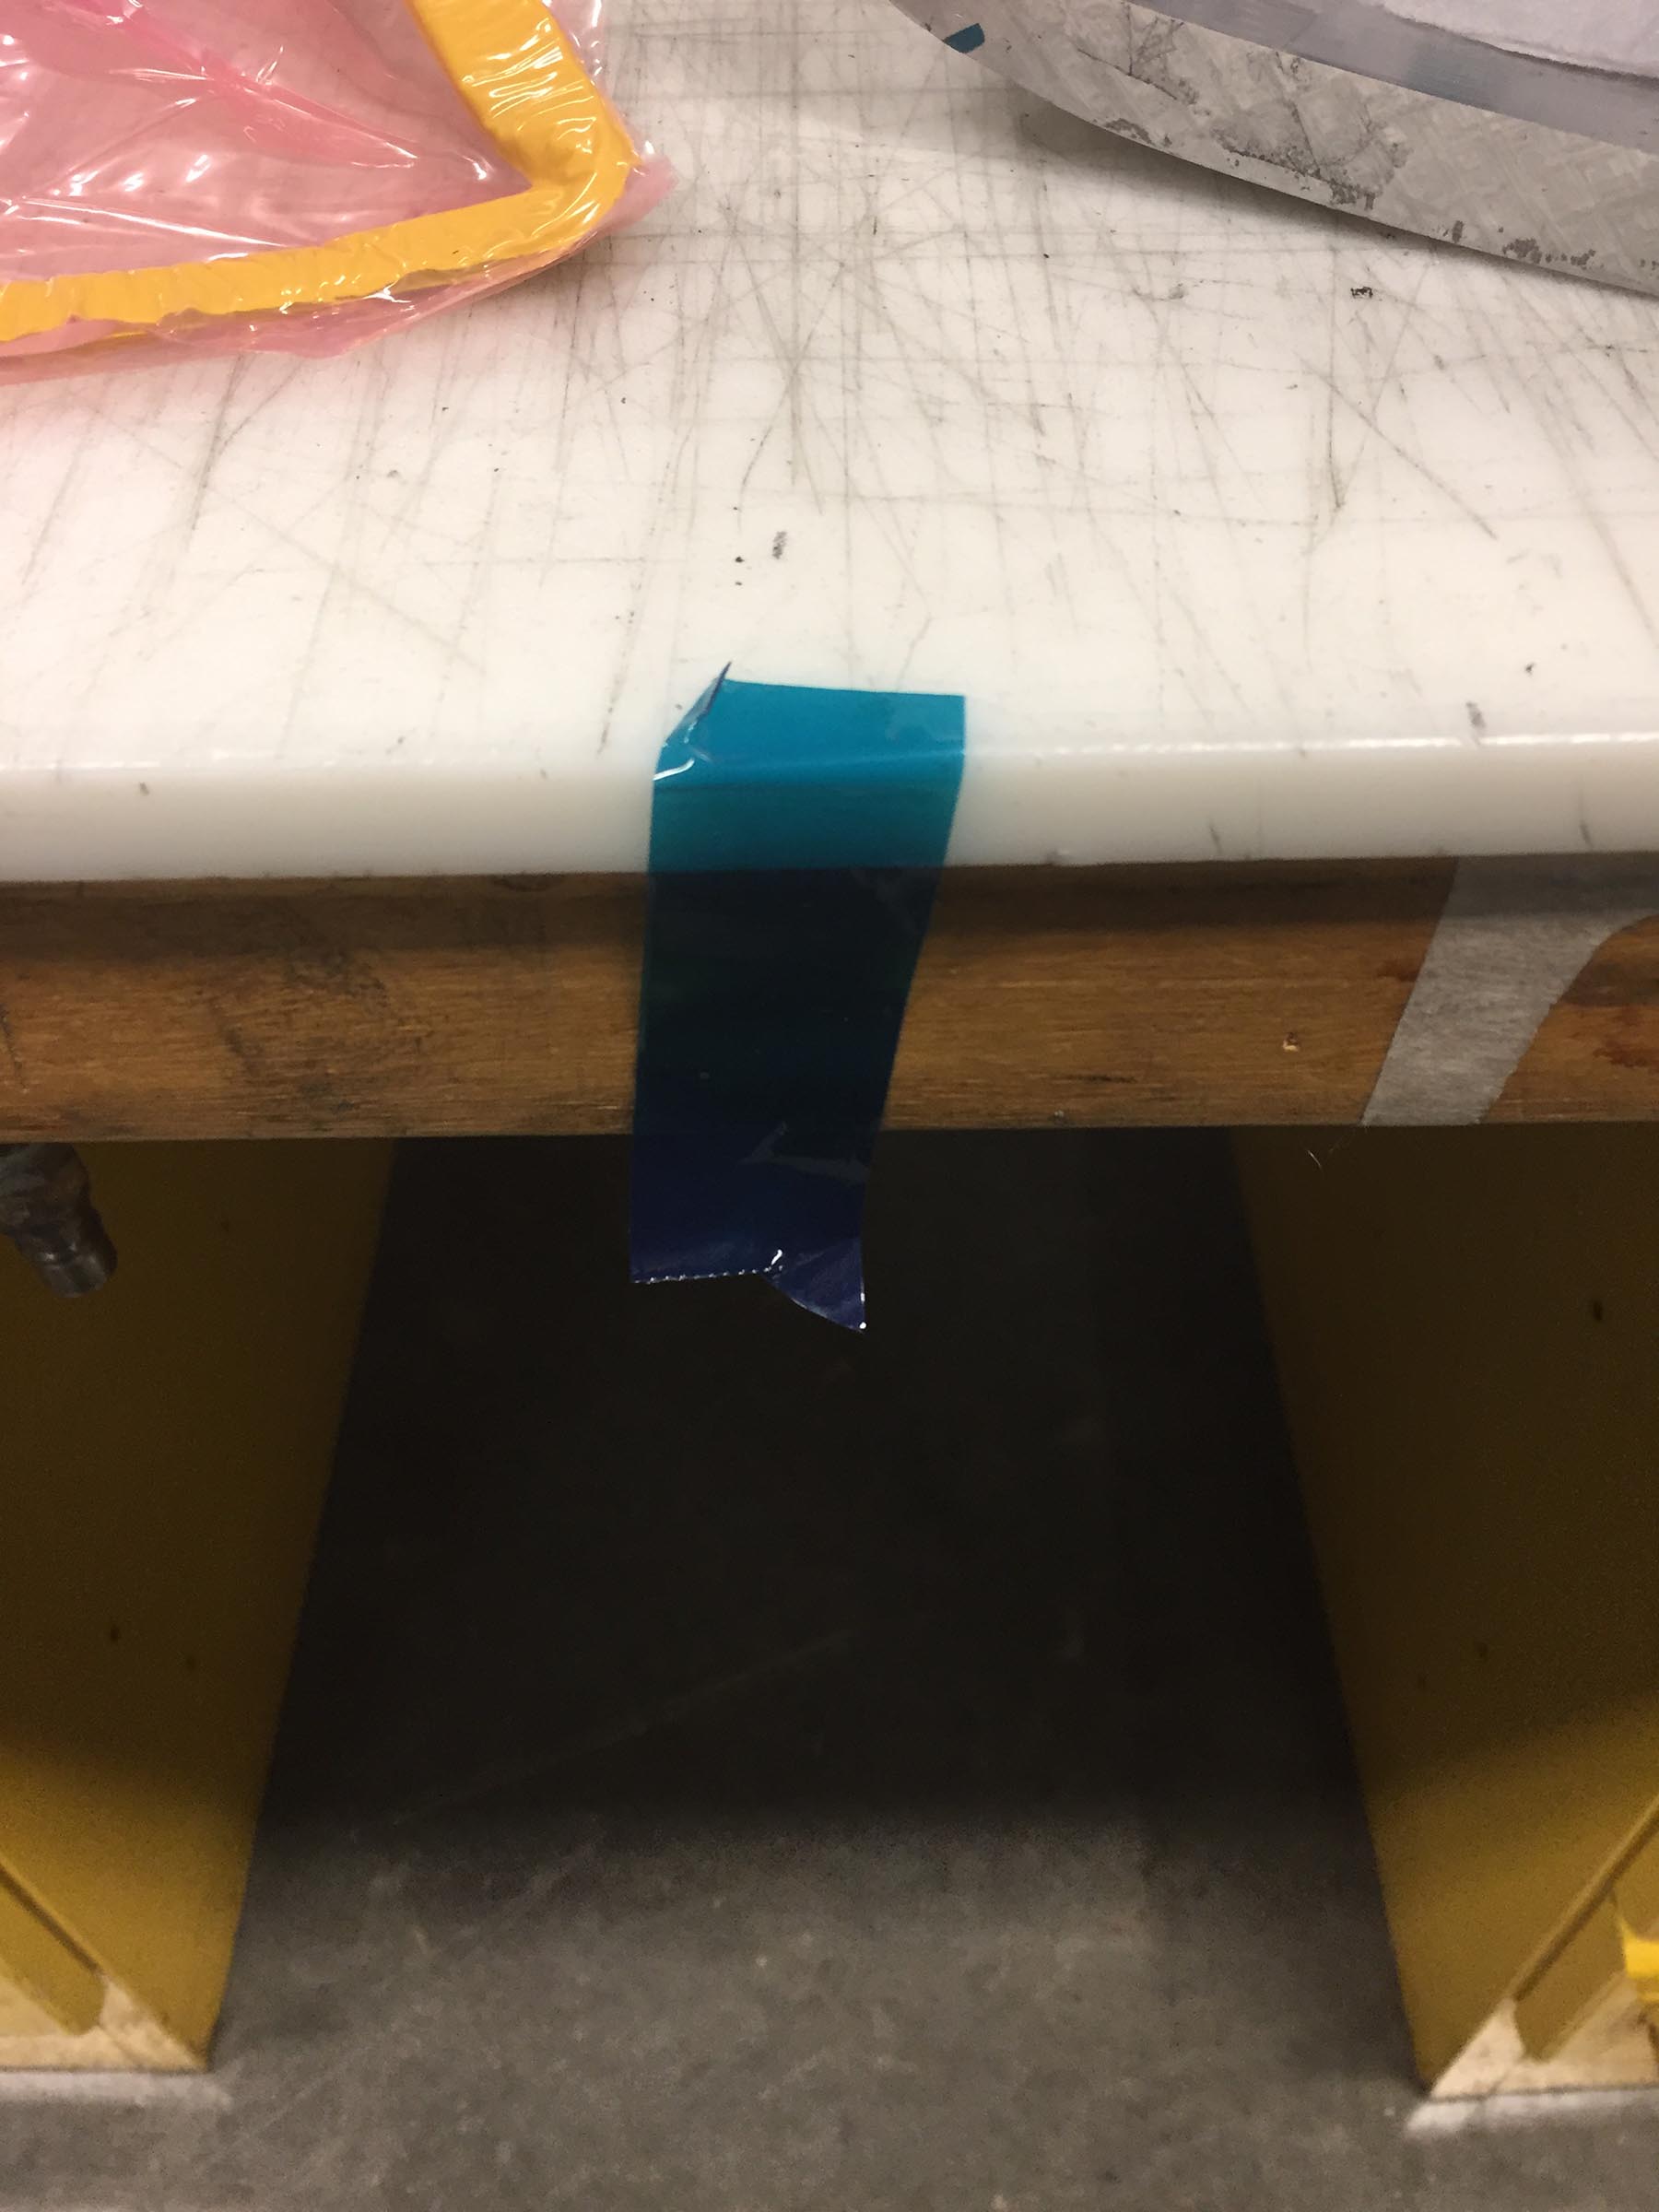
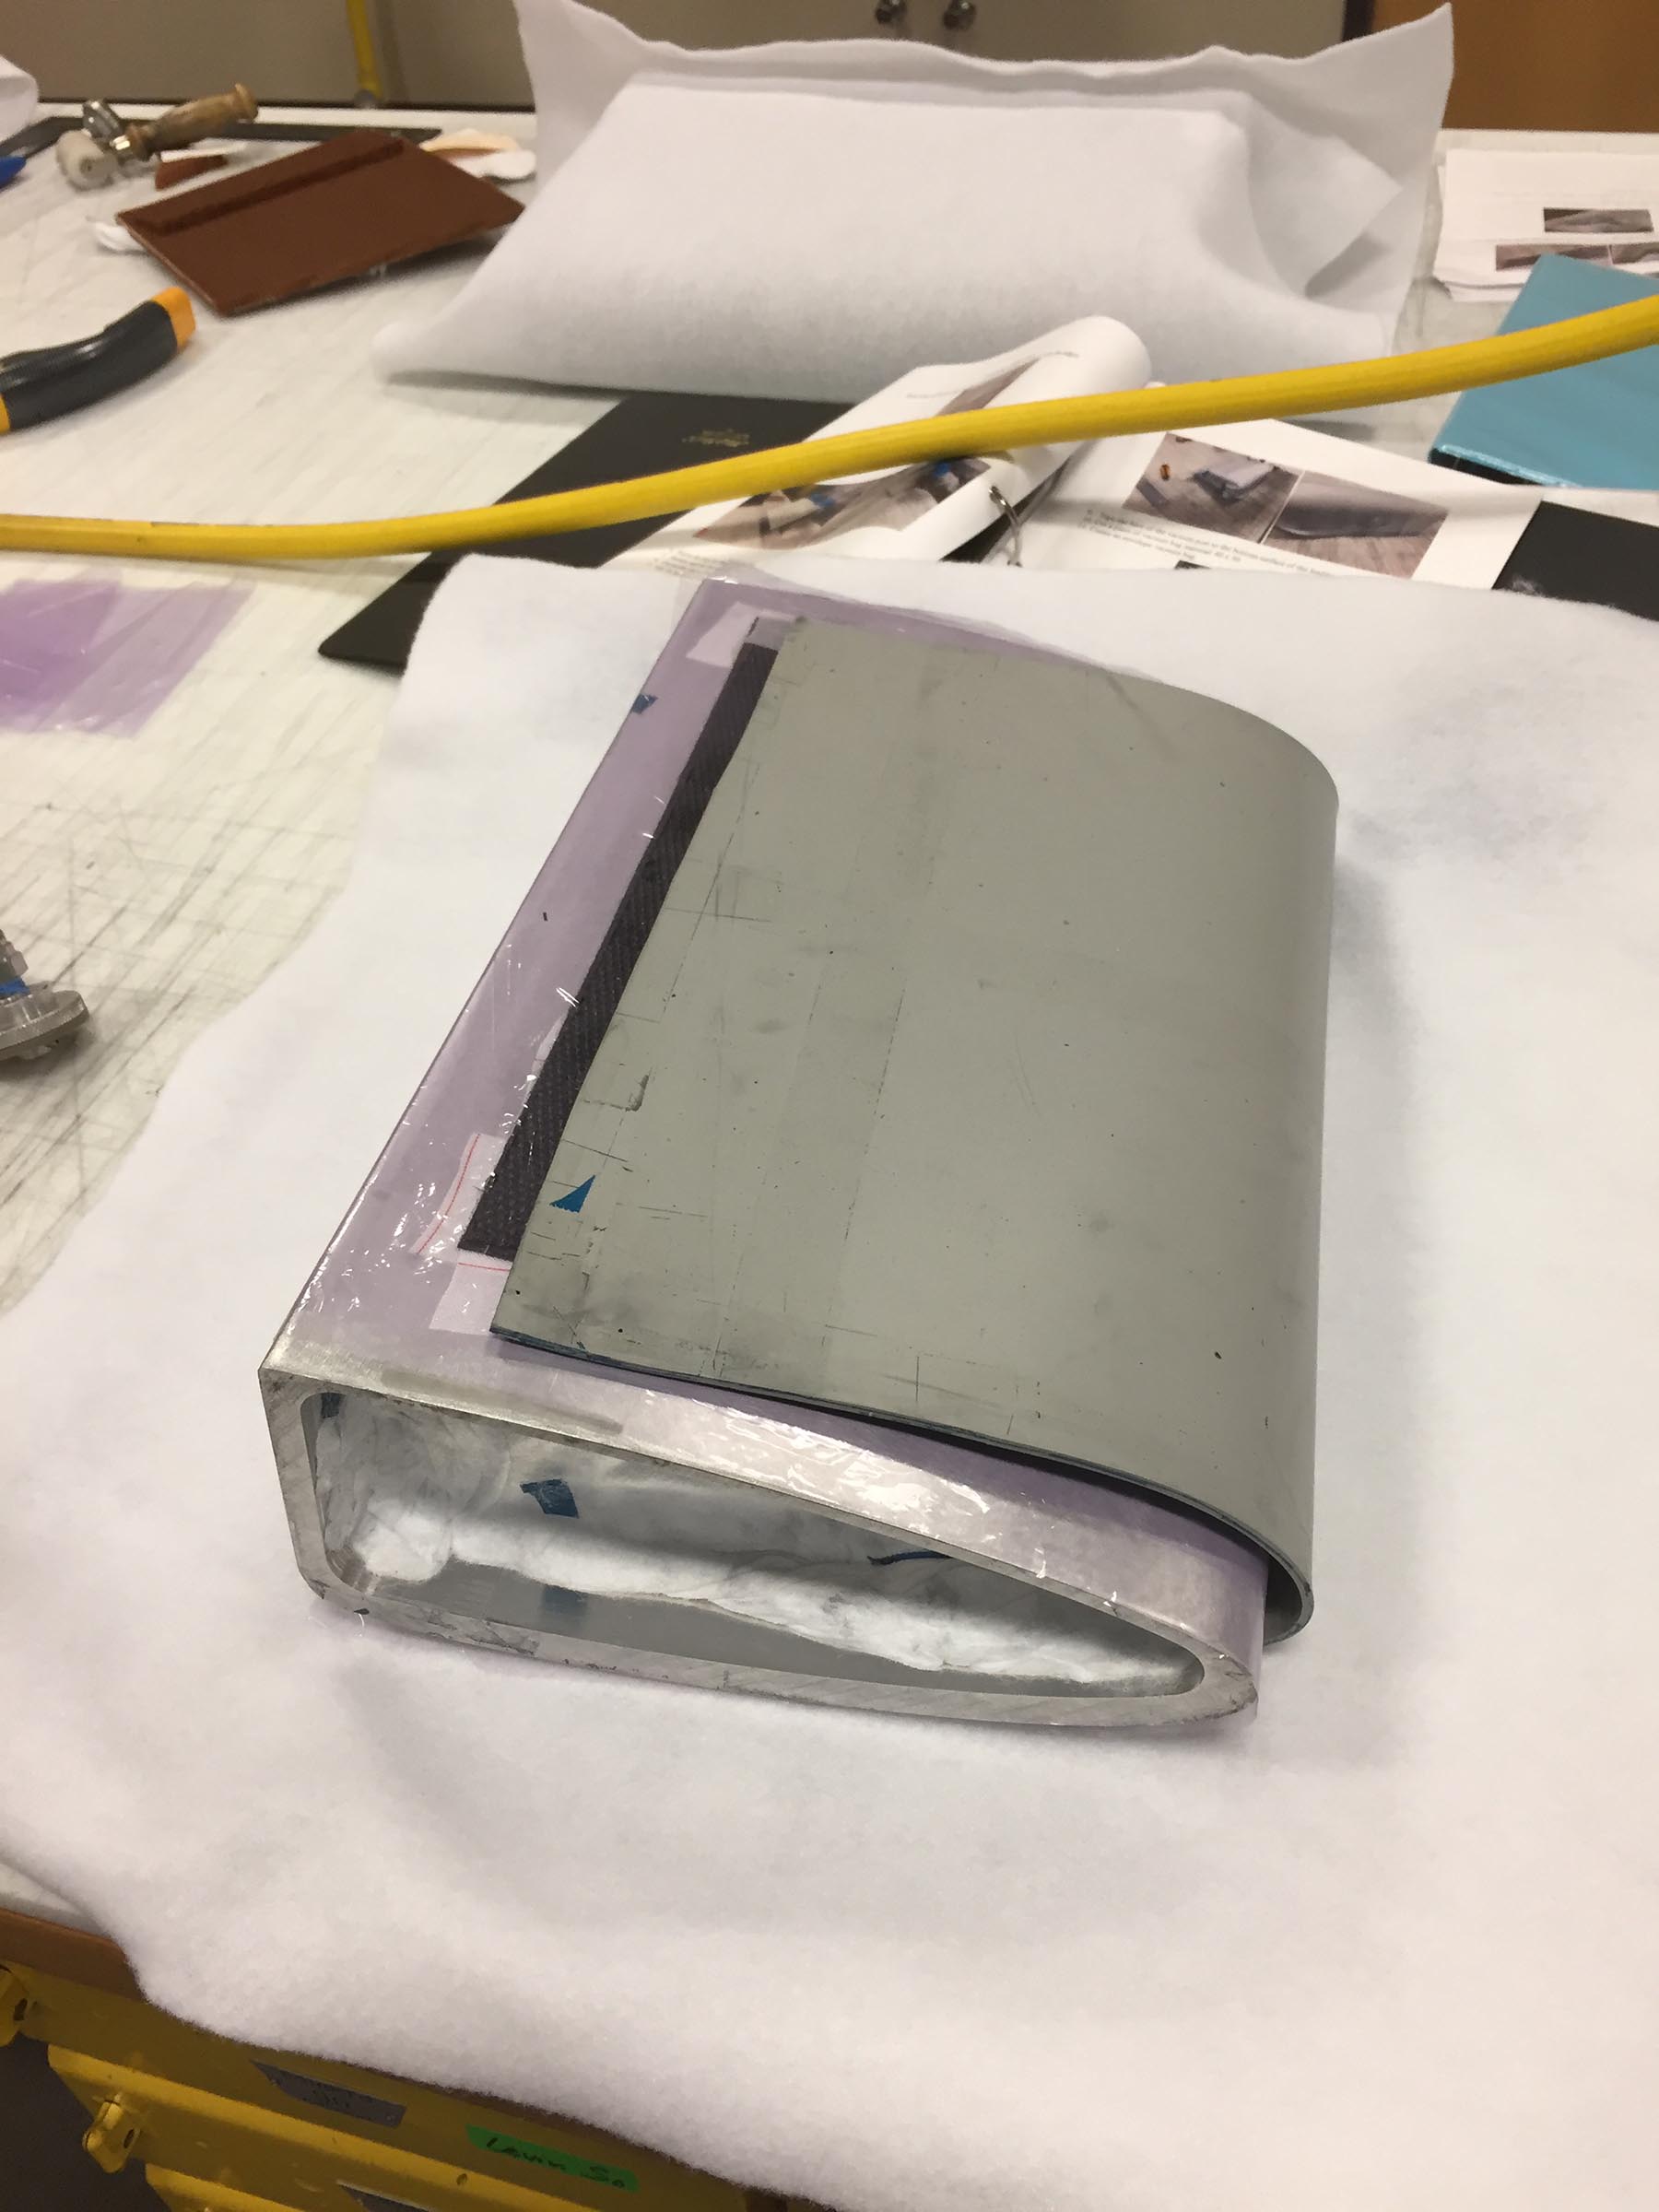
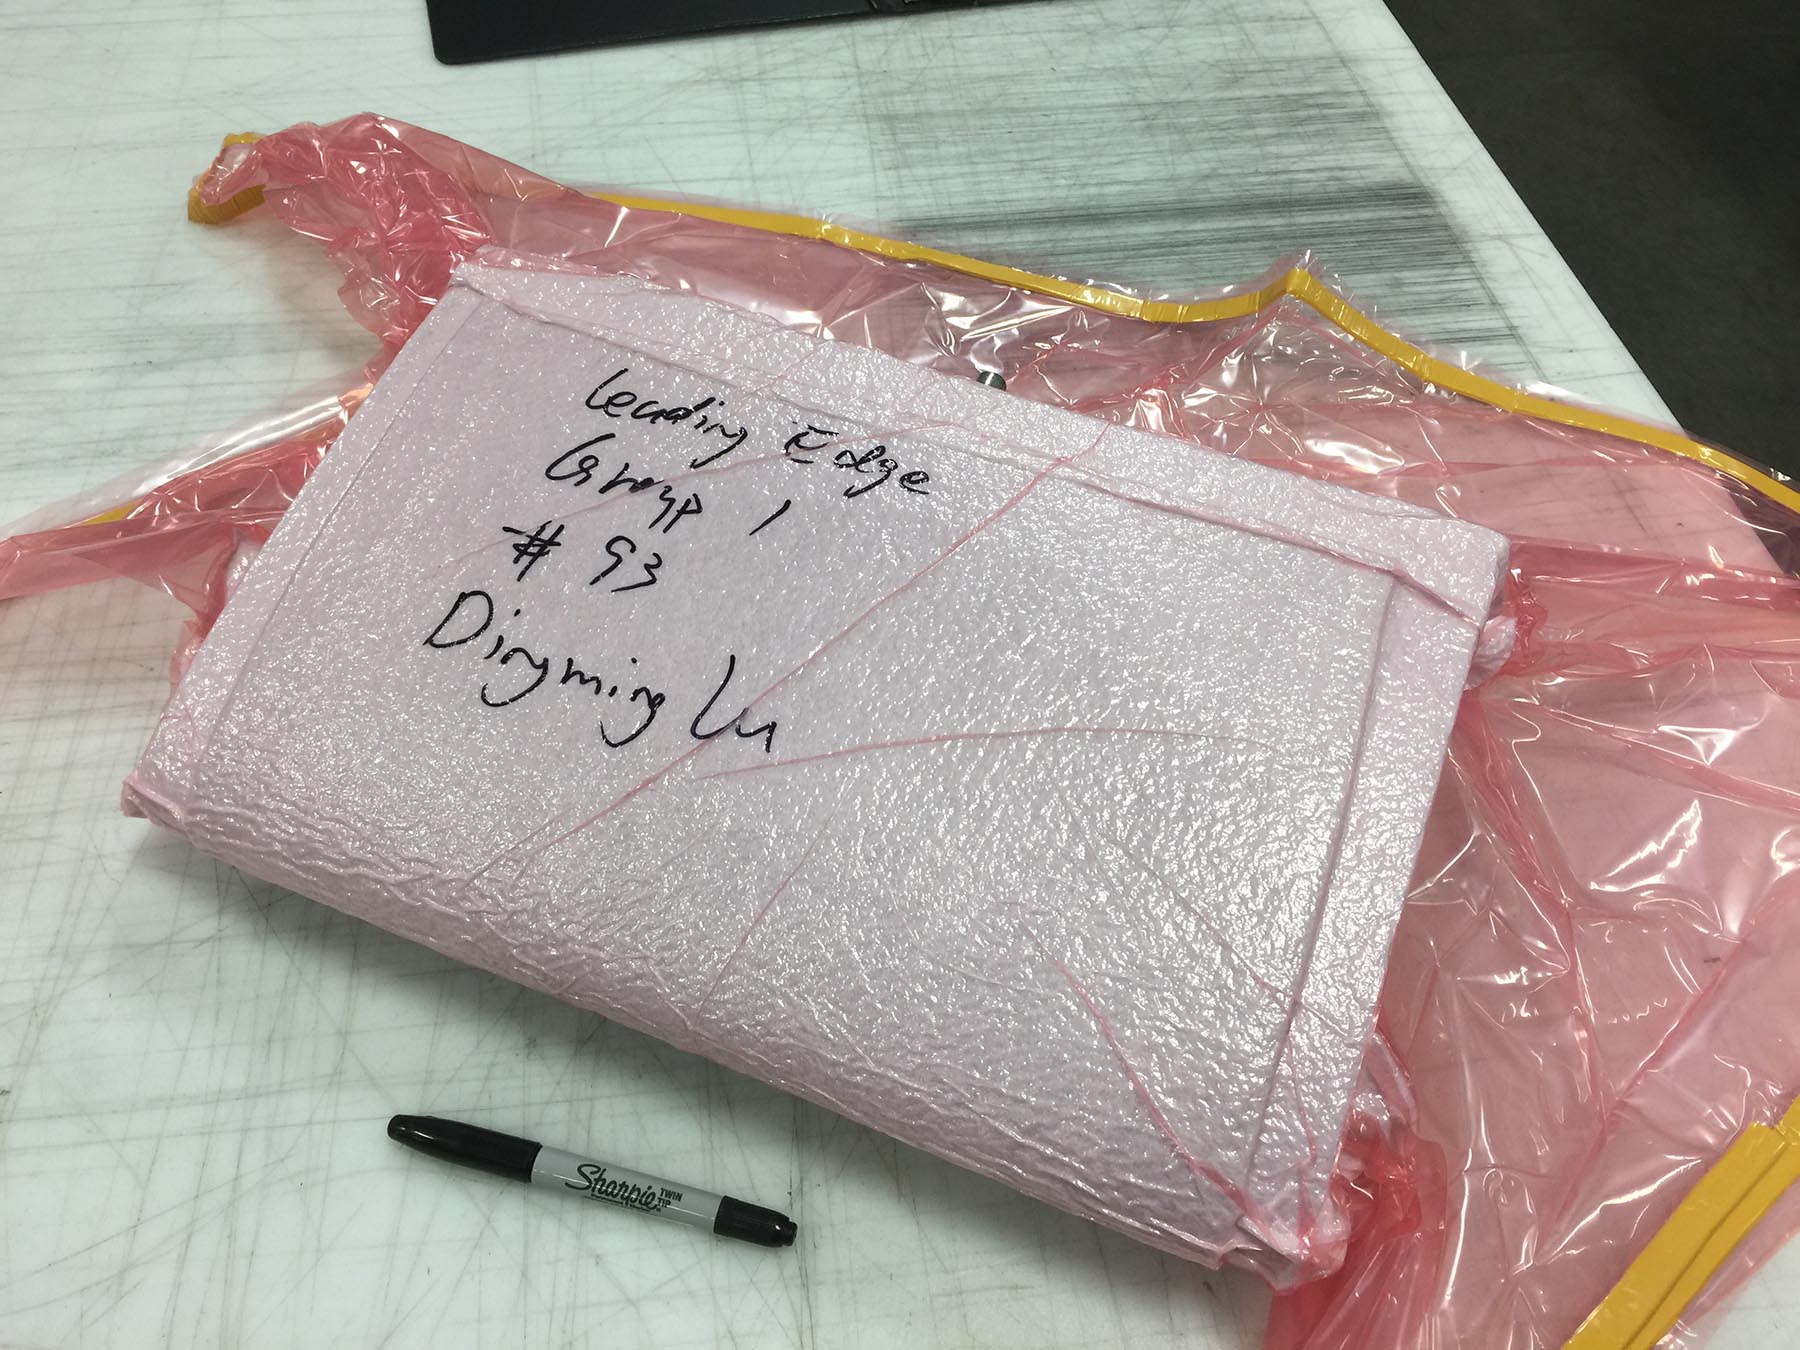
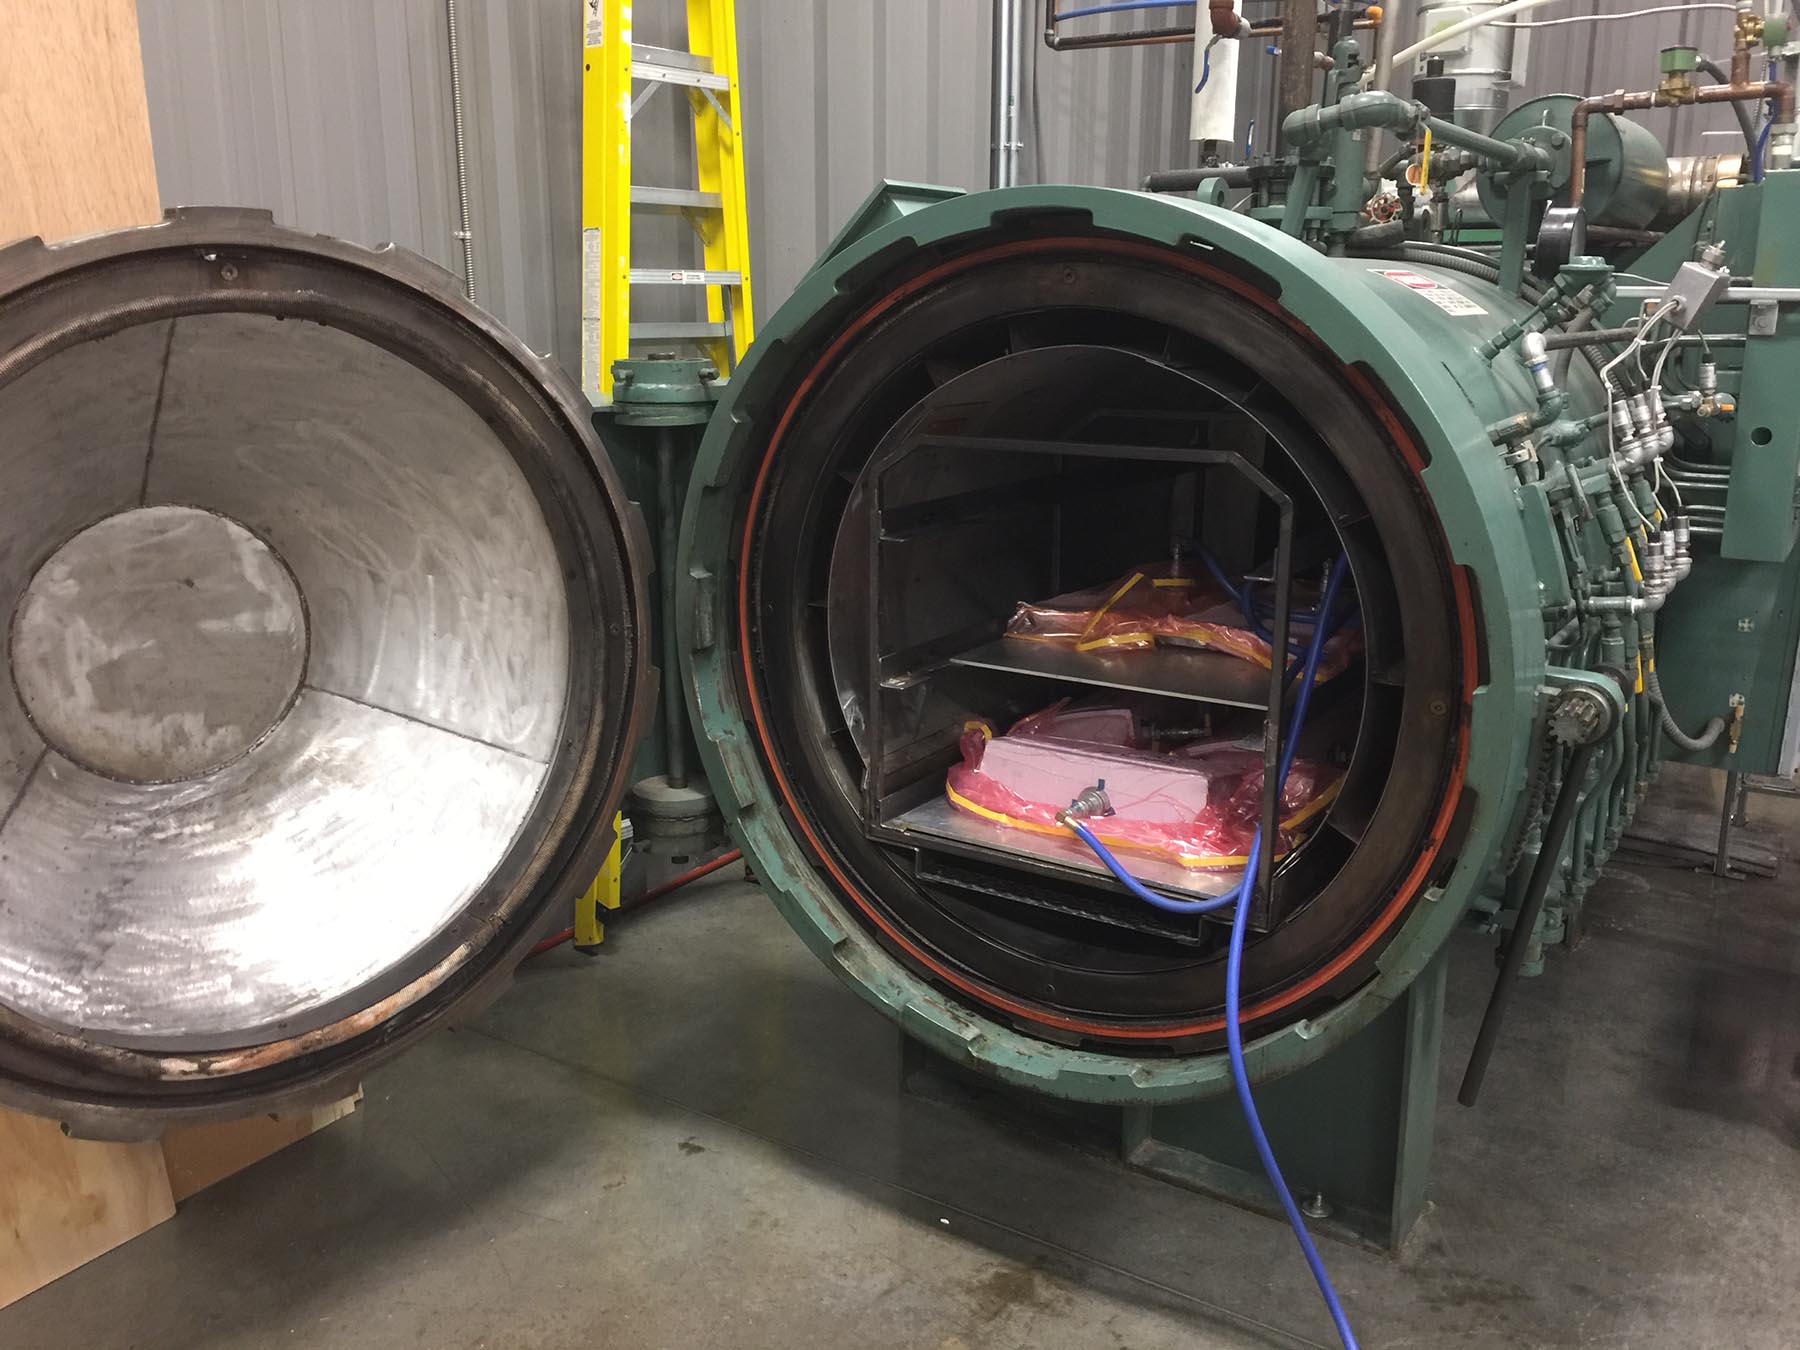
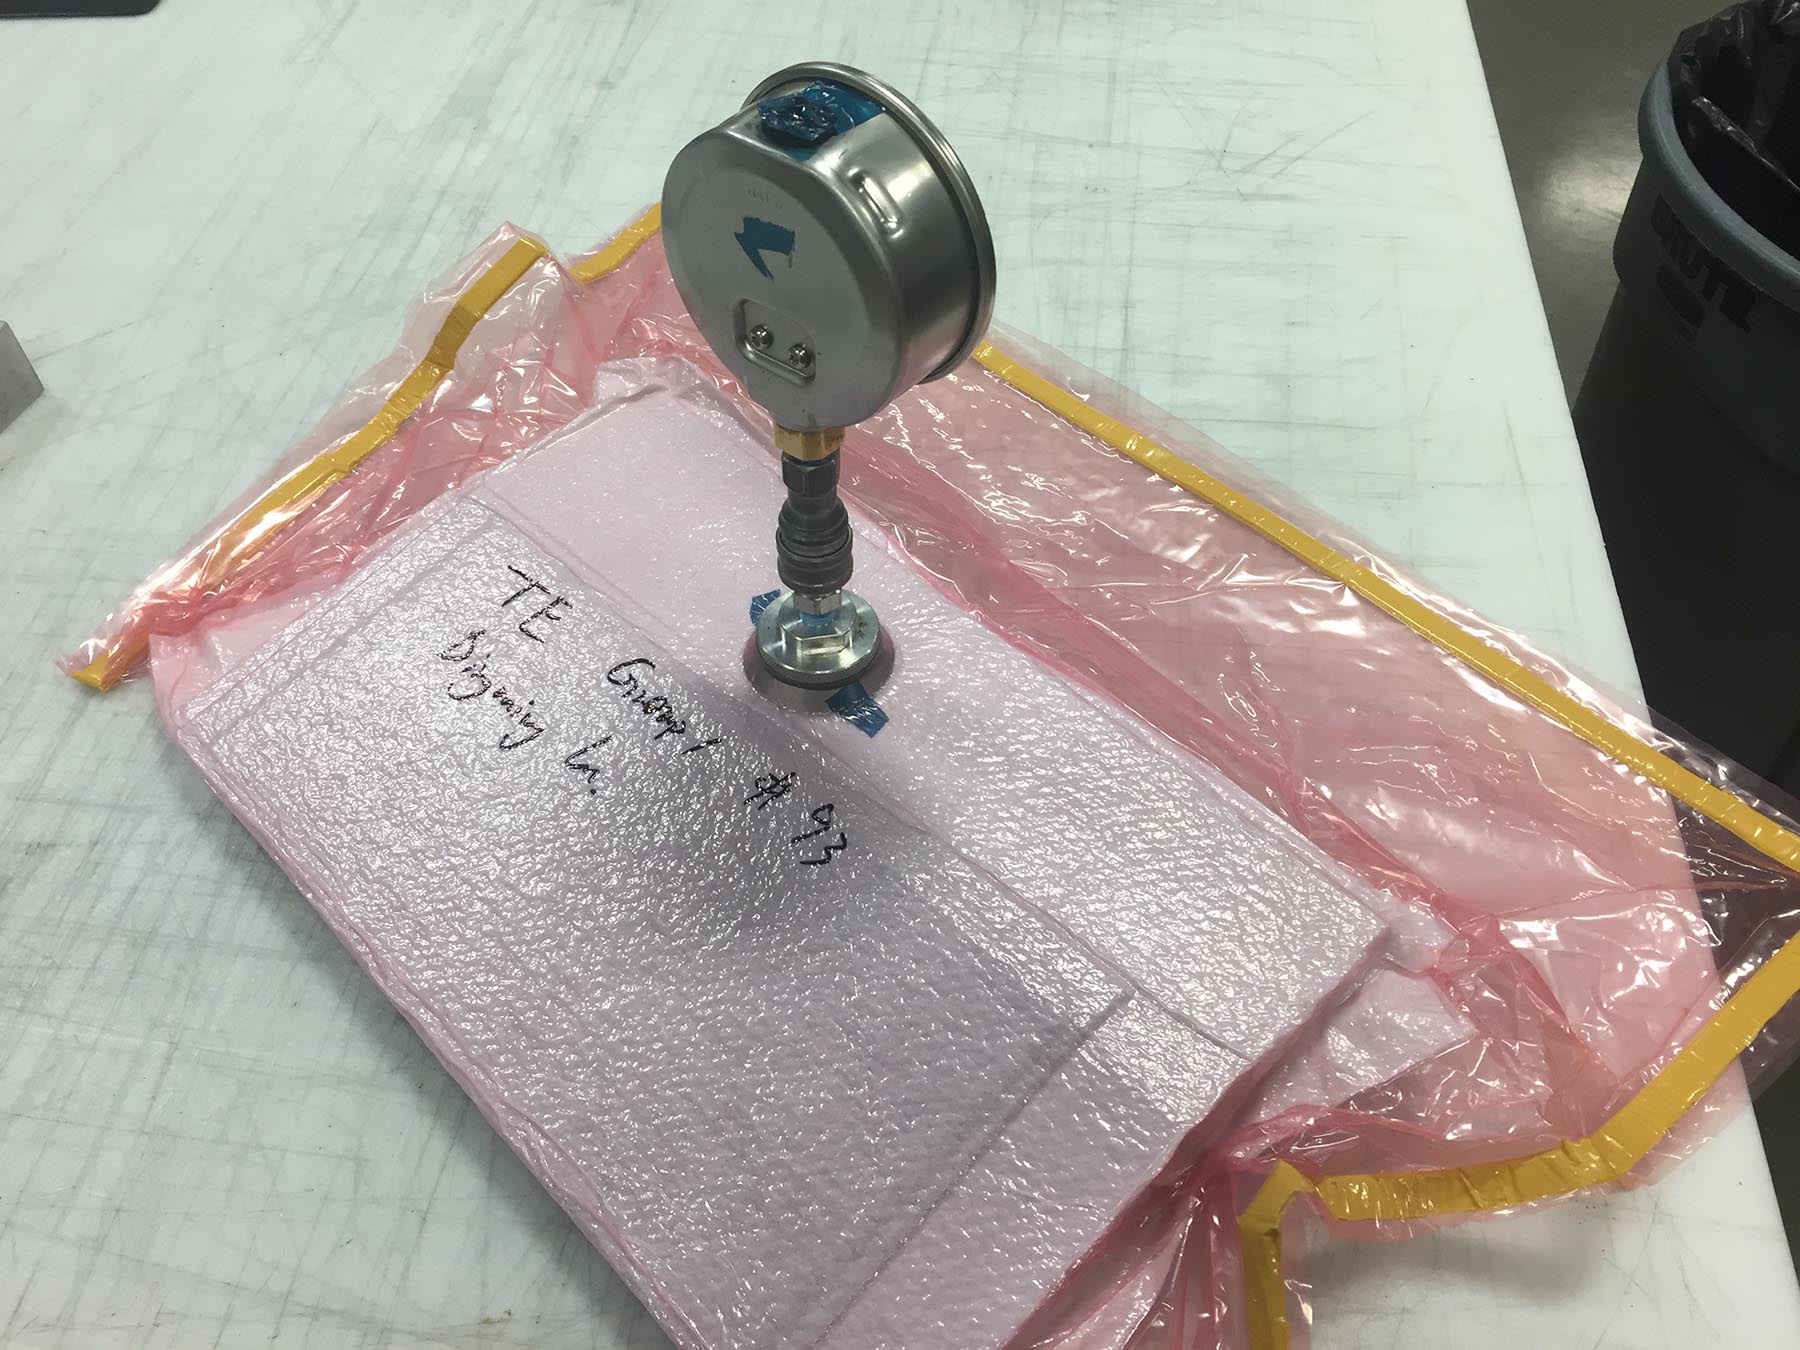
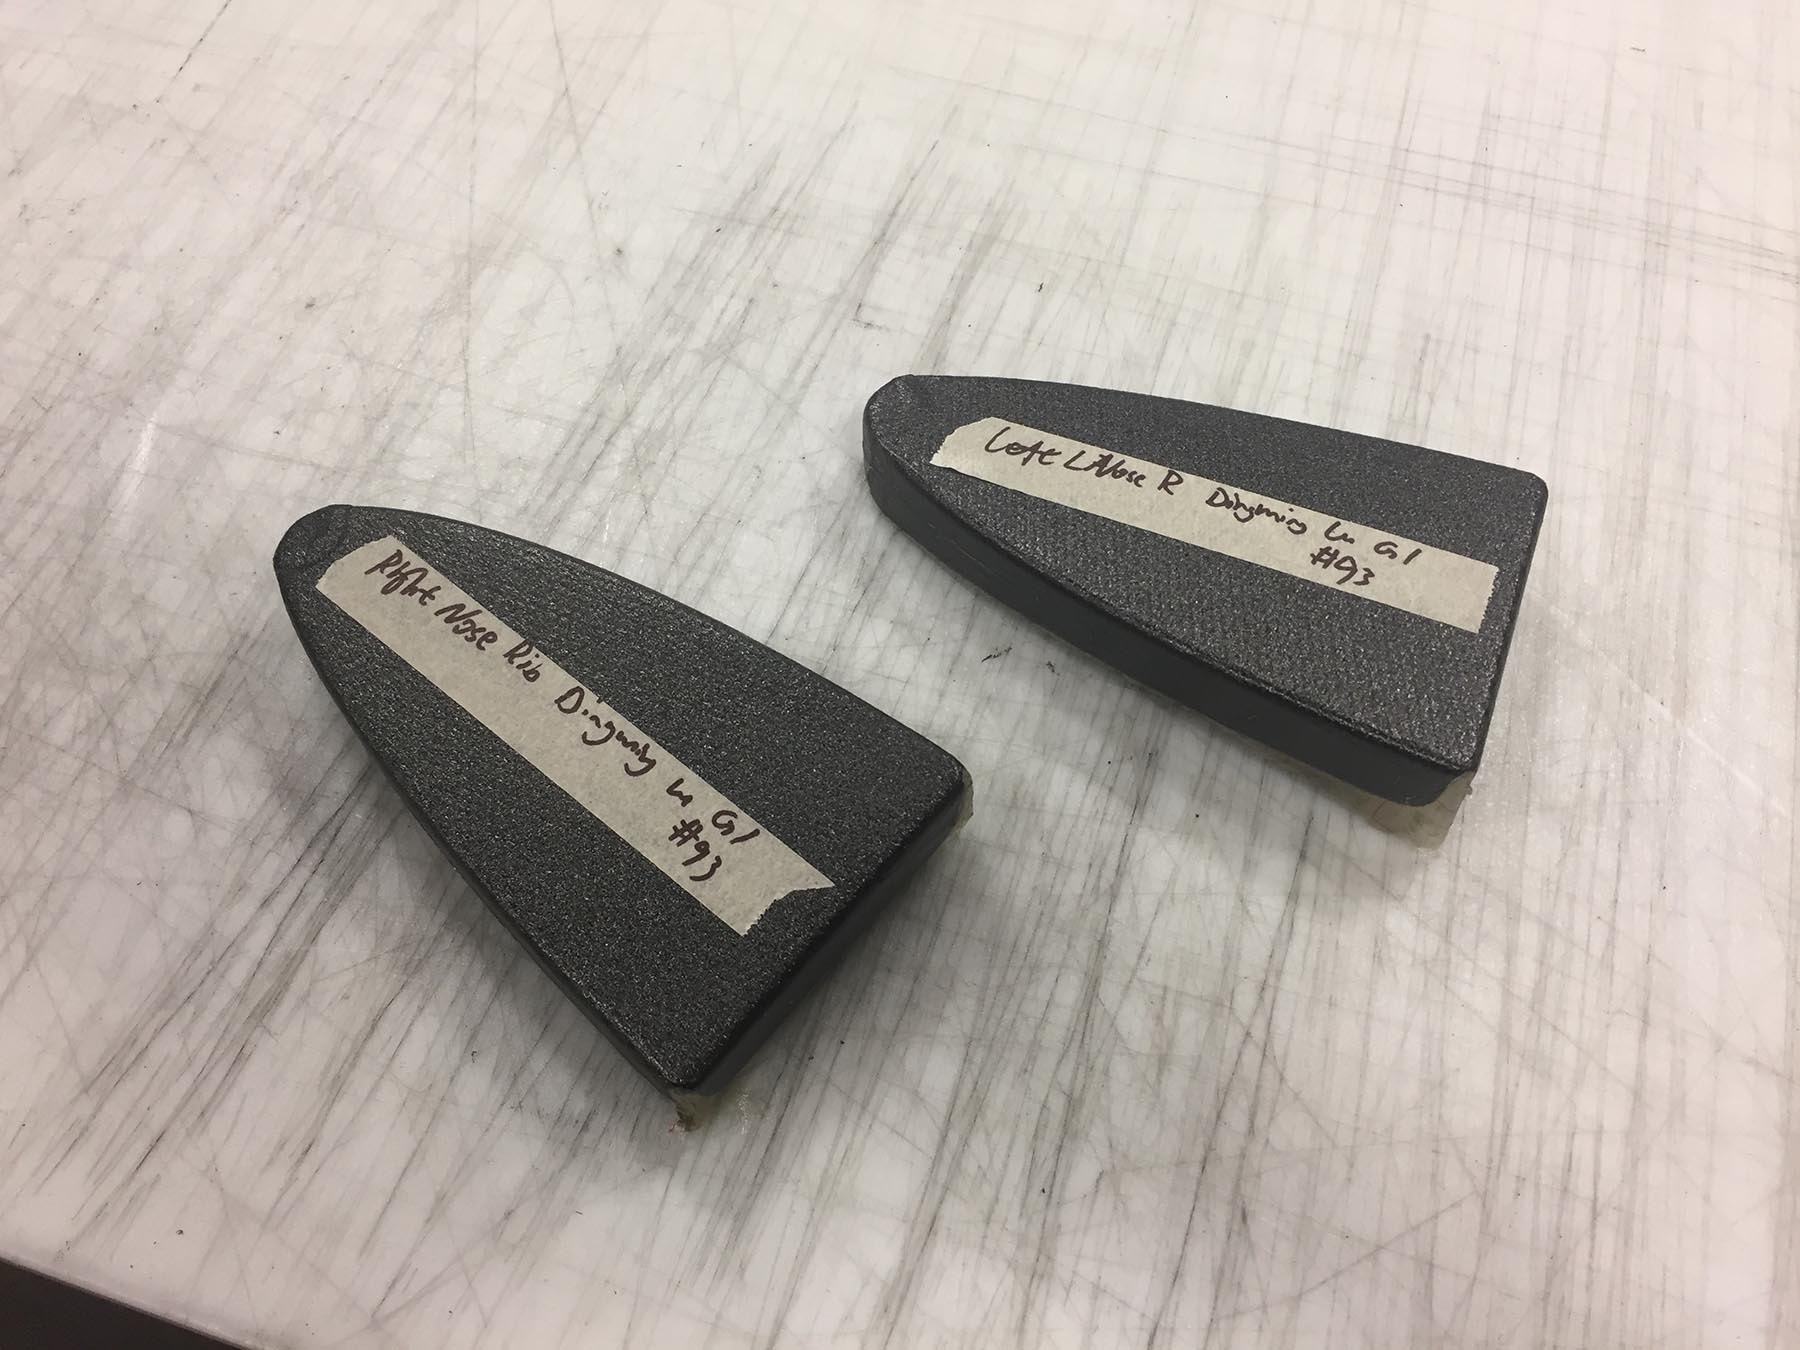
I. Intro Date: 10/02/2023 This time we were making leading edge and trailing. We added an extra rubber sheet on the top. II. Procedure Figure 1: de-mold Figure 2: trailing edge mold Figure 3: we were using solid release this time. Figure 4: back film is removed before warping it. Figure 5: put peel ply under it. Figure 6: then another layer of solid release film. Figure 7: put rubber sheet on the top. Figure 8: put it in the vacuum bag. The trailing edge should be facing the fold of the vacuum bag. Figure 9: put it into the vaccum bag. Figure 10: the student on the other side of the table put it in the wrong direction. The pointy edge should be at the fold, not the vertical edge. Figure 11: waitingfor vacuum. Figure 12: this was how much I got for the leading edge. Figure 13: same percedure as the trailing edge. Figure 14: the mold I was using didn’t have the hollow part at the bottom, so I don’t need to put the honeycomb at the bottom to hold the vacuum port. Figure 15: autoclave. Figure 16: finally the trailing edge was ready to go. It was fine before TA came, but somehow it started leaking. Figure 17: nose rib I did last time.
Course Project: AT41901: UAS Capstone – A Study on LiDAR Performance Based on Material, Size, and Shape Complexity I. Full Report (77.7 MB): ↑Click here to view it... Dingming LuJul 2, 2024 Course Project: AT409 Flight Lab 6: RV Jet In The Sky I. Intro Date: 11/28/2023 I started the RV Jet project... Dingming LuMar 28, 2024 Course Project: AT409 Flight Lab 5: Rededge Mica Sense and PPK I. Intro Date: 11/07/2023 We used M300, Rededge Mica Sense,... Dingming LuMar 28, 2024
Course Project: AT409 Flight Lab 6: RV Jet In The Sky I. Intro Date: 11/28/2023 I started the RV Jet project... Dingming LuMar 28, 2024 Course Project: AT409 Flight Lab 5: Rededge Mica Sense and PPK I. Intro Date: 11/07/2023 We used M300, Rededge Mica Sense,... Dingming LuMar 28, 2024
Course Project: AT409 Flight Lab 5: Rededge Mica Sense and PPK I. Intro Date: 11/07/2023 We used M300, Rededge Mica Sense,... Dingming LuMar 28, 2024